
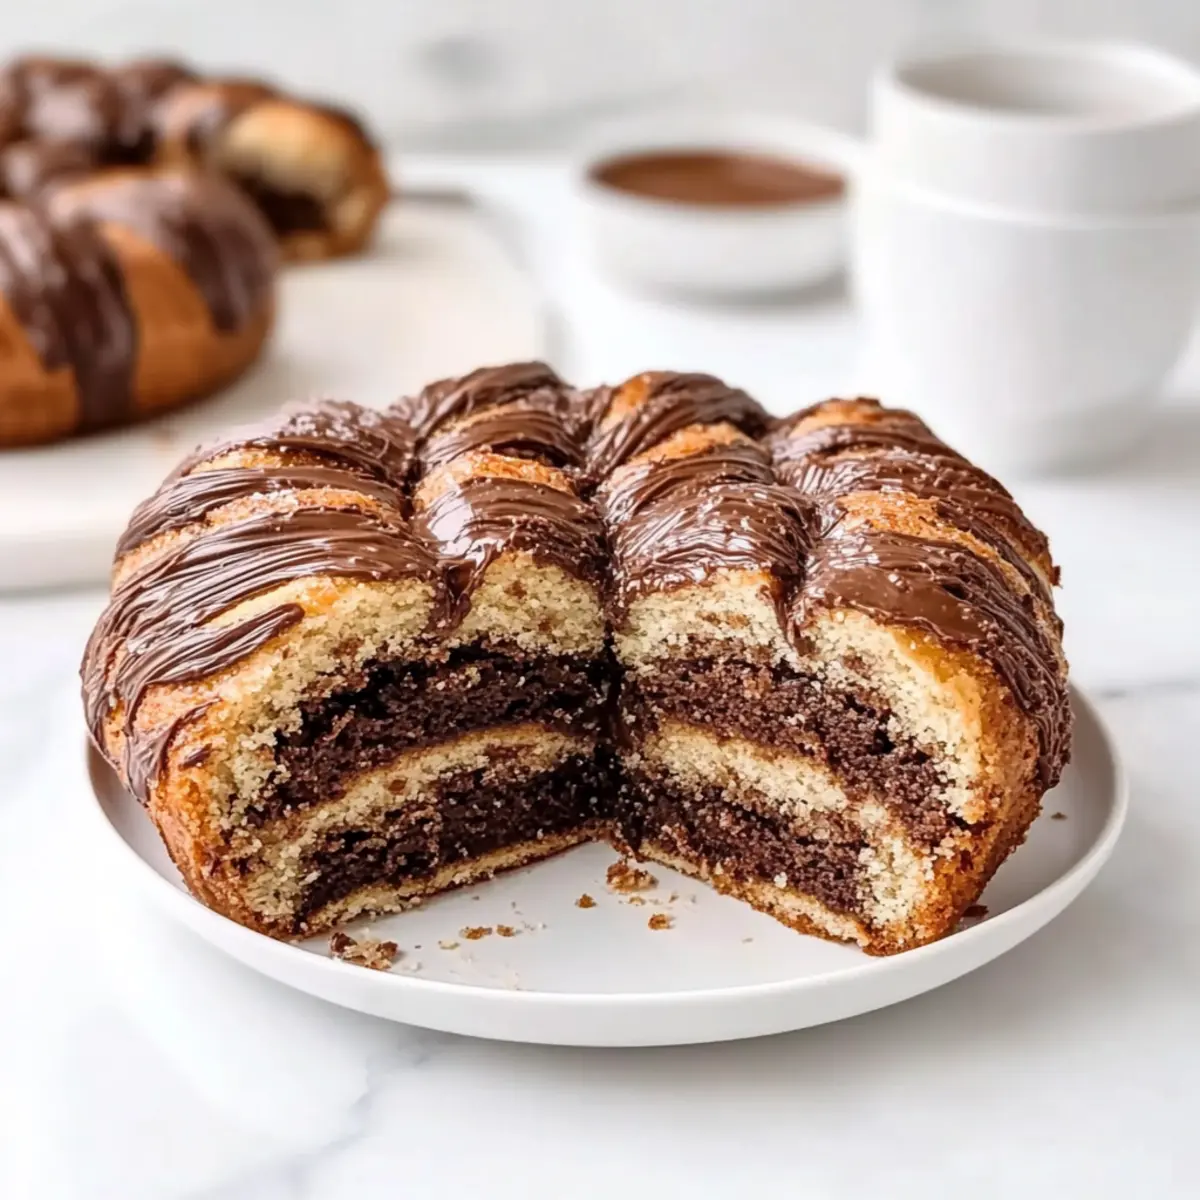
As I stood in my kitchen, the sweet aroma of baking wafted through the air, instantly making my heart race with excitement. Today, I’m sharing my cherished recipe for Cocoa and Nutella Yeast Cake, a dessert that perfectly marries the comforting texture of enriched dough with the rich flavors of chocolate and creamy Nutella. This indulgent treat isn’t just about satisfaction; it’s about creating moments of joy—whether it’s a cozy afternoon with coffee or the highlight of a festive gathering. With its pillowy softness and melt-in-your-mouth experience, this yeast cake is bound to be a showstopper and a delightful addition to your baking repertoire. Curious how to make this delicious masterpiece come to life? Let’s dive into the details!
Why Is This Cake So Irresistible?
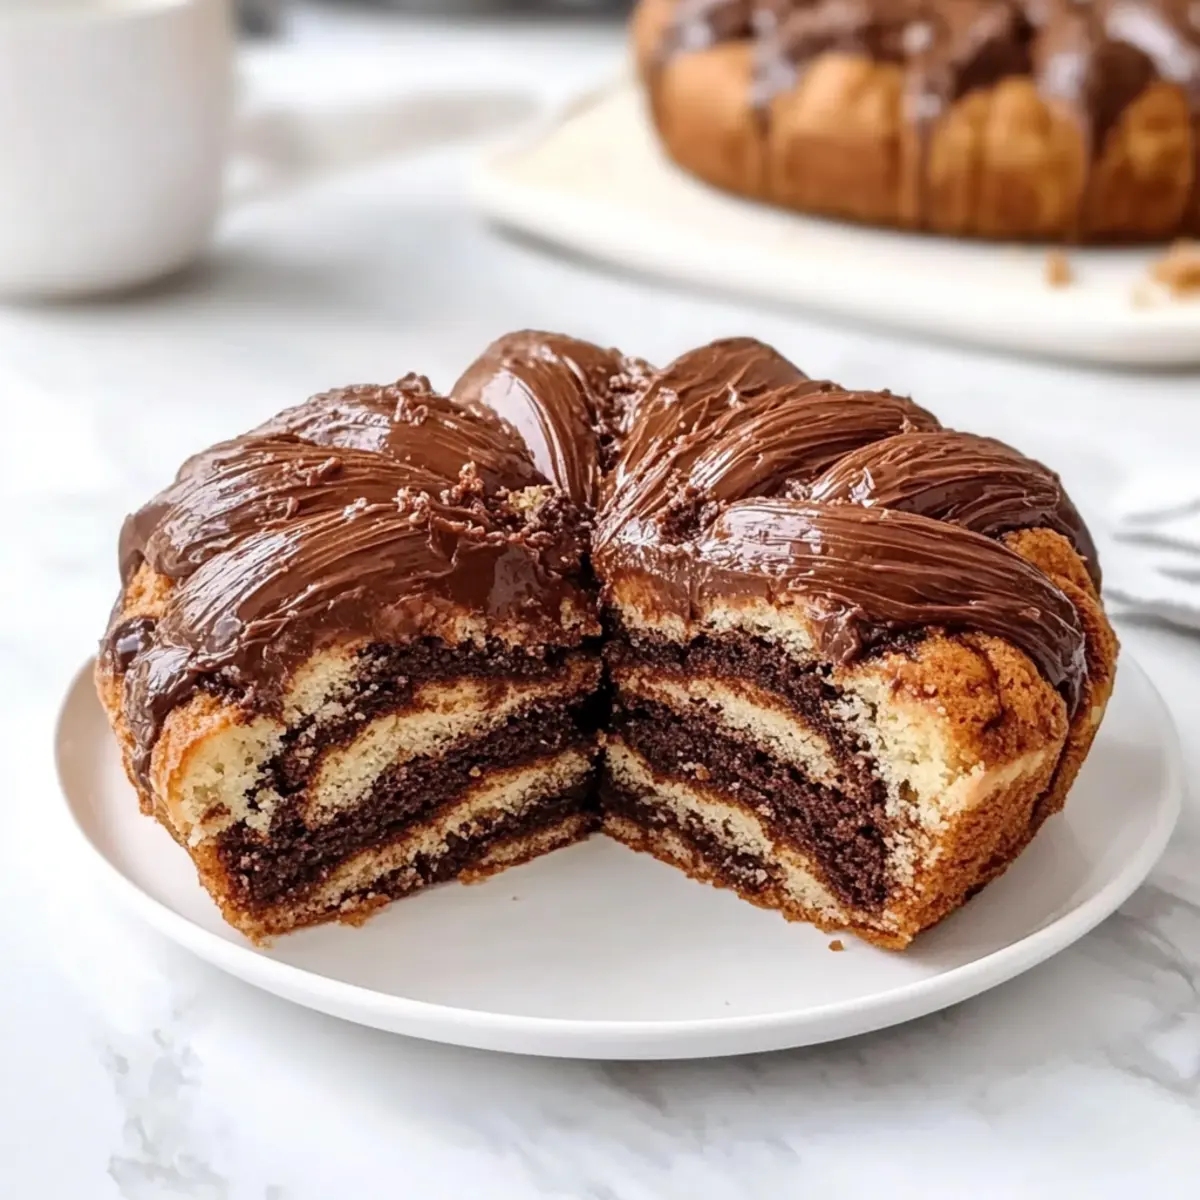
Decadent layers: The indulgent combination of rich cocoa and creamy Nutella creates a symphony of flavors. Easily made at home: Don’t worry if you’re new to yeast cakes; this recipe is simple enough for anyone to master. Perfect for sharing: Freshly baked, it’s sure to impress your guests at any gathering. Whether it’s paired with a cup of coffee or dressed up with a scoop of ice cream, it’s a treat that’s versatile and crowd-pleasing. Mouthwatering texture: Imagine a soft, pillowy center that will melt in your mouth—it’s pure bliss! Get ready to bring warmth and sweetness to your kitchen with this Cocoa and Nutella Yeast Cake.
Cocoa and Nutella Yeast Cake Ingredients
For the Dough
- All-purpose flour – Essential for forming the dough base and giving structure.
- Granulated sugar – Enhances flavor and aids in browning.
- Fresh yeast or dry yeast – Acts as the leavening agent; fresh yeast gives a robust flavor, but you can substitute with dry yeast if needed.
- Large egg – Provides binding and moisture for a tender crumb.
- Sour cream – Adds richness and tenderness; avoid low-fat yogurt as it won’t provide enough moisture.
- Whole milk – Must be warmed to activate the yeast effectively without killing it.
- Unsalted butter – Enriches flavor and contributes to a soft, rich texture.
- Salt – Balances sweetness and enhances the overall flavor profile.
For the Cocoa Filling
- Bittersweet chocolate – Deepens the chocolate flavor; ensure it’s chopped fine for easy melting.
- Cocoa powder – Imparts chocolate intensity and richness in the filling.
- Powdered sugar – Adds sweetness and a smooth finish to the cocoa mixture.
- Vegetable oil – Helps the filling stay soft and pliable.
- Nutella – The star of the filling; can be replaced with other nut spreads at room temperature for easy spreading.
For the Glaze
- Granulated sugar and water – Creates a shiny syrup that enhances the cake’s finish; this contrast in temperature adds glossiness to the cake.
Get ready to be enveloped in the delightful warmth of homemade Cocoa and Nutella Yeast Cake that’s not just a treat but an experience!
Step‑by‑Step Instructions for Cocoa and Nutella Yeast Cake
Step 1: Make Sugar Syrup
In a small saucepan, combine equal parts granulated sugar and water. Bring to a boil over medium heat, stirring until the sugar fully dissolves. Once dissolved, remove from heat and allow it to cool to room temperature. Refrigerate the syrup while you prepare the Cocoa and Nutella Yeast Cake dough, as this glaze will give a beautiful sheen to the finished cake.
Step 2: Prepare Dough
In a stand mixer, combine warmed whole milk, sour cream, sugar, and fresh yeast until smooth. Slowly add all-purpose flour and mix on low speed until just incorporated. Once combined, add salt and softened unsalted butter. Switch to medium speed and knead the dough for about 10 minutes, until it becomes smooth and elastic, forming a lovely dough for your Cocoa and Nutella Yeast Cake.
Step 3: First Rise
Transfer the kneaded dough into a greased bowl and cover it with a clean kitchen towel. Place it in a warm area to rise for about 1 hour, or until the dough has doubled in size. This first rise allows the yeast to work its magic, creating a light and airy texture in your Cocoa and Nutella Yeast Cake.
Step 4: Prepare Cocoa Filling
While the dough is rising, melt bittersweet chocolate and unsalted butter together in a heatproof bowl over simmering water or in the microwave. Stir until completely melted and smooth, then mix in the cocoa powder, powdered sugar, and vegetable oil until well-blended. This creamy filling will add a rich layer of flavor to your Cocoa and Nutella Yeast Cake.
Step 5: Assemble Cake
Once the dough has risen, punch it down gently and divide into two equal portions. Roll one portion of dough into a rectangle approximately ¼ inch thick. Evenly spread the cocoa filling over the rectangle, then fold it over and roll it out again into a larger rectangle. Finally, spread Nutella on top before folding and cutting into strips, preparing for the next delightful layer of your Cocoa and Nutella Yeast Cake.
Step 6: Shape Dough
Take each strip of dough and twist them into your desired shape, such as spirals or braids, and place them in a greased baking pan. Cover the pan with a towel and allow the shaped dough to rise again for about 35 minutes, or until nearly doubled. This second rise ensures a soft, tender texture in your beautiful Cocoa and Nutella Yeast Cake.
Step 7: Bake
Preheat your oven to 170°C (340°F). Once ready, bake the Cocoa and Nutella Yeast Cake for approximately 45 minutes, or until the top is golden brown and the cake sounds hollow when tapped gently. Keep an eye on it towards the end to ensure it doesn’t over-brown.
Step 8: Glaze
As soon as the cake is out of the oven, brush the warm surface generously with the cold sugar syrup. This step will create a glossy finish and enhance the flavors of your Cocoa and Nutella Yeast Cake. Allow it to cool slightly before slicing and serving; enjoy the delightful layers and textures!
What to Serve with Cocoa and Nutella Yeast Cake
Indulge in a complete experience by pairing this heavenly cake with delightful accompaniments that enhance its rich flavors.
- Freshly Brewed Coffee: A classic choice, warming, and slightly bitter notes in coffee beautifully balance the sweetness of the cake.
- Whipped Cream: Light and airy, it adds a luscious creaminess that elevates each bite of the Cocoa and Nutella Yeast Cake.
- Vanilla Ice Cream: The cold, creamy texture of vanilla ice cream creates a delightful contrast against the cake’s warm, fudgy layers.
- Chilled Milk: Classic and comforting, a glass of milk is perfect for dunking, enhancing the cake’s chocolaty goodness.
- Berries Medley: Fresh raspberries and strawberries bring a pop of tartness, brightening the overall flavor of this indulgent treat.
- Chocolate Sauce Drizzle: For the ultimate chocolate lover, a drizzle of chocolate sauce on top takes the cake experience to the next level.
Pair any of these delightful options with your Cocoa and Nutella Yeast Cake for a meal that’s sure to captivate hearts and taste buds!
Storage Tips for Cocoa and Nutella Yeast Cake
Room Temperature: Store the cake in an airtight container for up to 3 days. This keeps it moist and fresh without losing its delightful texture.
Fridge: If you prefer a cooler storage option, wrap the cake tightly and store it in the fridge for up to 5 days. However, it’s best enjoyed at room temperature.
Freezer: Freeze individual slices of the Cocoa and Nutella Yeast Cake by wrapping them tightly in plastic wrap and placing them in a freezer-safe bag. They can last for up to 3 months.
Reheating: For the best texture, reheat slices in a toaster oven at a low setting until warmed through. This restores the soft, pillowy goodness of your cake!
Cocoa and Nutella Yeast Cake Variations
Embrace your creativity in the kitchen with these delightful swaps and twists that will elevate your Cocoa and Nutella Yeast Cake experience!
- Nut-Free: Replace Nutella with sunflower seed butter to enjoy a nut-free alternative without compromising on flavor.
- Gluten-Free: Use a gluten-free all-purpose flour blend to make this cake friendly for those avoiding gluten.
- Vegan-Friendly: Swap the egg for a flaxseed meal mixture and replace sour cream with a plant-based yogurt for a delicious vegan version.
- Spicy Kick: Add a pinch of cayenne pepper or chili powder to the cocoa filling to enjoy a surprising heat that pairs beautifully with chocolate.
- Fruit Filling: Incorporate fresh berries or banana slices into the cocoa filling to add a fruity twist that balances the richness of chocolate.
- Extra Crunch: Stir in some chopped nuts such as hazelnuts or walnuts into the cocoa filling for texture and an added nutty flavor.
- Creamy Bliss: Layer in cream cheese frosting between the dough layers for a rich, tangy contrast that complements the chocolate wonderfully.
- Lemon Zest: Brighten up the flavors by adding lemon zest to the dough for a refreshing citrus note that pairs delightfully with the cocoa.
Wondering what to enjoy alongside this indulgent cake? It pairs perfectly with a warm cup of Tortellini Chicken Broccoli or some sweet Pumpkin Cupcakes Maple for a delicious feast that will elevate your experience.
Expert Tips for Perfect Cocoa and Nutella Yeast Cake
-
Kneading Technique: Ensure dough passes the “windowpane test” by stretching a small piece; it should become translucent without tearing for best results.
-
Perfect Yeast Activation: Keep the milk warm but not hot—ideally below 115°F—to properly activate the yeast without compromising its effectiveness in the Cocoa and Nutella Yeast Cake.
-
Nutella Consistency: If your Nutella is too thick to spread, microwave it for 10 seconds to achieve a smoother texture that will spread easily on the dough.
-
Avoid Low-Fat Substitutes: Stick to full-fat sour cream to guarantee the richness and tenderness of the cake; low-fat alternatives can lead to a dry texture.
-
Watch the Baking Time: Keep a close eye on your cake in the oven; check for a golden brown color and a hollow sound when tapped to prevent over-baking.
-
Store Properly: To maintain freshness, store the cake in an airtight container at room temperature for up to 3 days, or freeze individual slices for later enjoyment.
Make Ahead Options
Making the Cocoa and Nutella Yeast Cake ahead of time is a fantastic way to save on precious moments in your busy schedule! You can prepare the dough and let it rise, then refrigerate it for up to 24 hours. Just cover it tightly with plastic wrap to prevent it from drying out. If you prefer, you can also prepare the cocoa filling in advance and store it in the refrigerator for up to 3 days; simply bring it to room temperature before using. When you’re ready to bake, shape and let the dough rise a second time, then bake as directed. This approach will still yield a soft, luscious cake that’s just as delightful as if you had baked it fresh that same day!
Cocoa and Nutella Yeast Cake Recipe FAQs
What type of yeast should I use for this recipe?
Absolutely! You can use either fresh yeast or dry yeast (instant or rapid rise) for the Cocoa and Nutella Yeast Cake. If using fresh yeast, you’ll get a more robust flavor. If you’re out of fresh yeast, just substitute it with dry yeast—keep in mind that you’ll need about a third of the amount.
How should I store the Cocoa and Nutella Yeast Cake?
To keep your cake fresh, store it in an airtight container at room temperature for up to 3 days. If you’re keeping it longer, wrap it tightly and refrigerate for up to 5 days. Just remember, it’s best enjoyed at room temperature.
Can I freeze Cocoa and Nutella Yeast Cake?
Certainly! To freeze the Cocoa and Nutella Yeast Cake, wrap individual slices in plastic wrap, then place them in a freezer-safe bag. They can last up to 3 months in the freezer. When you’re ready to enjoy, simply reheat them in a toaster oven at a low setting until warmed through for that fresh-baked taste!
What if my dough doesn’t rise properly?
Very! If your dough doesn’t rise as expected, there are a few things to check: First, ensure your yeast is fresh. If it’s expired, it won’t activate. Second, verify that your milk wasn’t too hot when mixed with the yeast, as extreme heat can kill it. Lastly, make sure the dough is kept in a warm area during the rise. If it still seems off, you can place it in a slightly warm oven (turn it off, then place it in) to encourage rising.
Can I substitute Nutella with other spreads?
Absolutely! You can use other nut spreads like almond butter or pistachio cream instead of Nutella in your Cocoa and Nutella Yeast Cake. Just ensure the alternative spread is at room temperature to make it easy to spread. This allows you to play around with flavors while still enjoying that delightful layered texture.
Is this cake suitable for people with nut allergies?
Not at all! If you’re preparing this for someone with nut allergies, I recommend avoiding Nutella and other nut-based spreads. Instead, you can try using a chocolate spread that’s nut-free, such as a marshmallow cream or traditional cookie spread, while ensuring it’s room temperature for easy application.
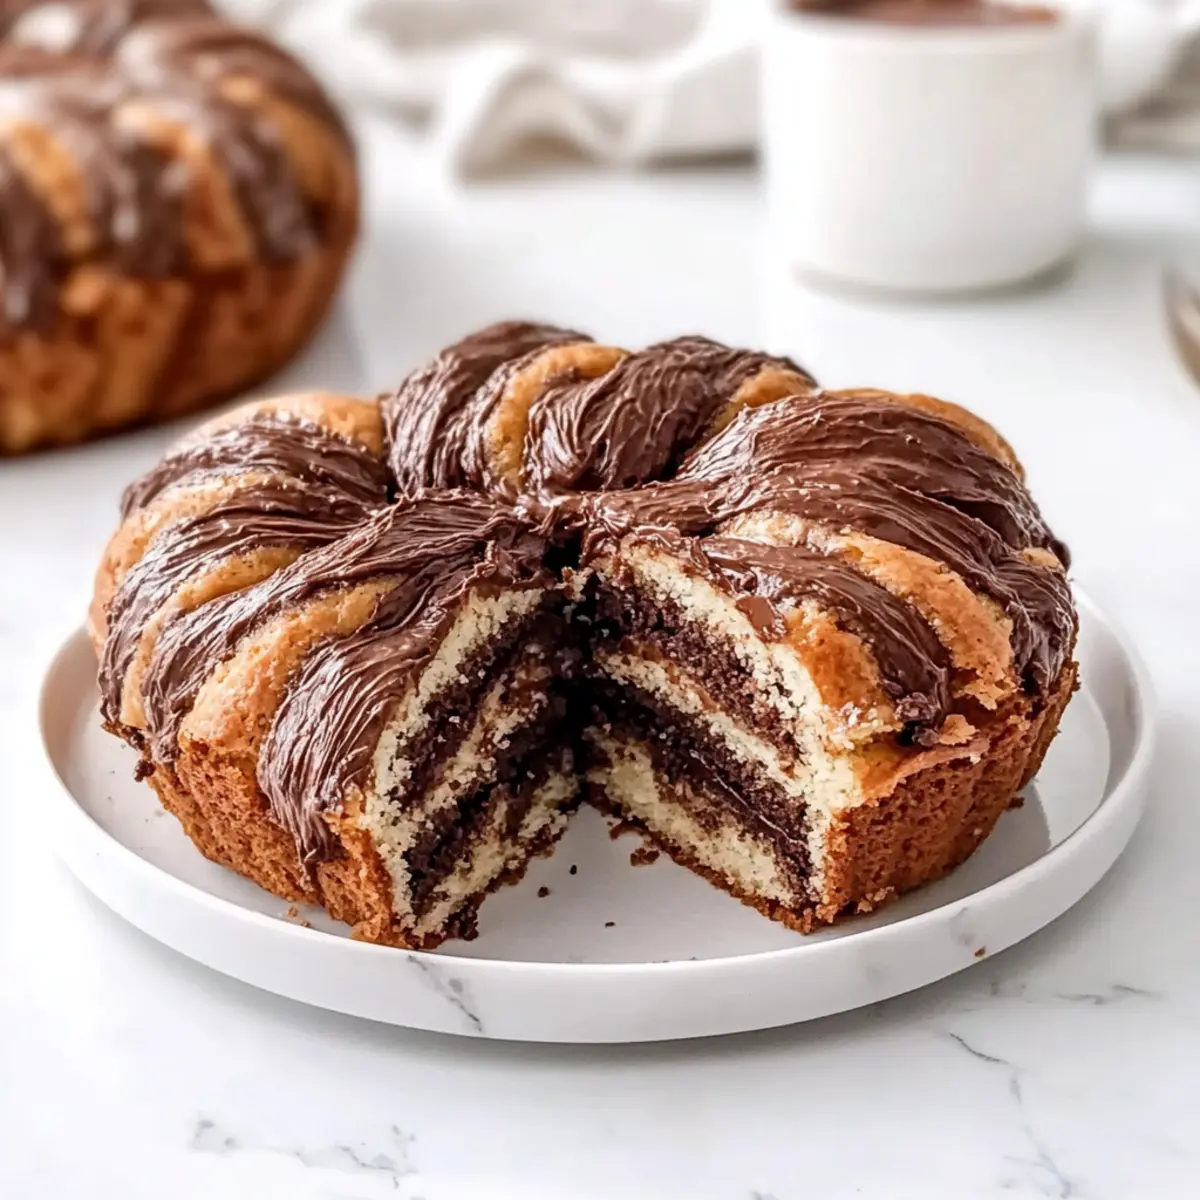
Irresistible Cocoa and Nutella Yeast Cake to Delight Your Senses
Ingredients
Equipment
Method
- In a small saucepan, combine equal parts granulated sugar and water. Bring to a boil over medium heat until the sugar dissolves. Allow to cool.
- In a stand mixer, combine warmed whole milk, sour cream, sugar, and fresh yeast until smooth. Gradually add all-purpose flour.
- Add salt and softened unsalted butter. Knead on medium speed for about 10 minutes until smooth and elastic.
- Transfer the kneaded dough to a greased bowl, cover with a towel, and allow to rise for about 1 hour until doubled in size.
- While the dough rises, melt bittersweet chocolate and unsalted butter in a heatproof bowl, then mix in cocoa powder, powdered sugar, and vegetable oil.
- Punch down the dough, divide into two portions, and roll one into a rectangle. Spread cocoa filling before folding and rolling again.
- Twist the strips of dough into shapes and place in a greased baking pan. Cover and let rise for about 35 minutes.
- Preheat oven to 170°C (340°F) and bake for approximately 45 minutes until golden and sounds hollow when tapped.
- Brush the warm cake with the cold sugar syrup to create a glossy finish. Allow to cool slightly before slicing and serving.
Leave a Reply