
As I stood in my kitchen, the aroma of rich chocolate and baking cake engulfed me—my heart raced with excitement. Today, I’m diving into the world of a classic Red Velvet Cake, a dessert that always manages to steal the spotlight at gatherings. This recipe is perfect for anyone looking to impress with minimal effort, yet yields show-stopping results. The delightful balance of cocoa and the tangy notes from buttermilk create a moist, flavorful layer cake, while the velvety cream cheese frosting adds a touch of creamy bliss. Whether you’re celebrating a special occasion or simply satisfying a sweet craving, this cake is sure to become a beloved staple. Are you ready to make your kitchen the heart of something truly scrumptious?
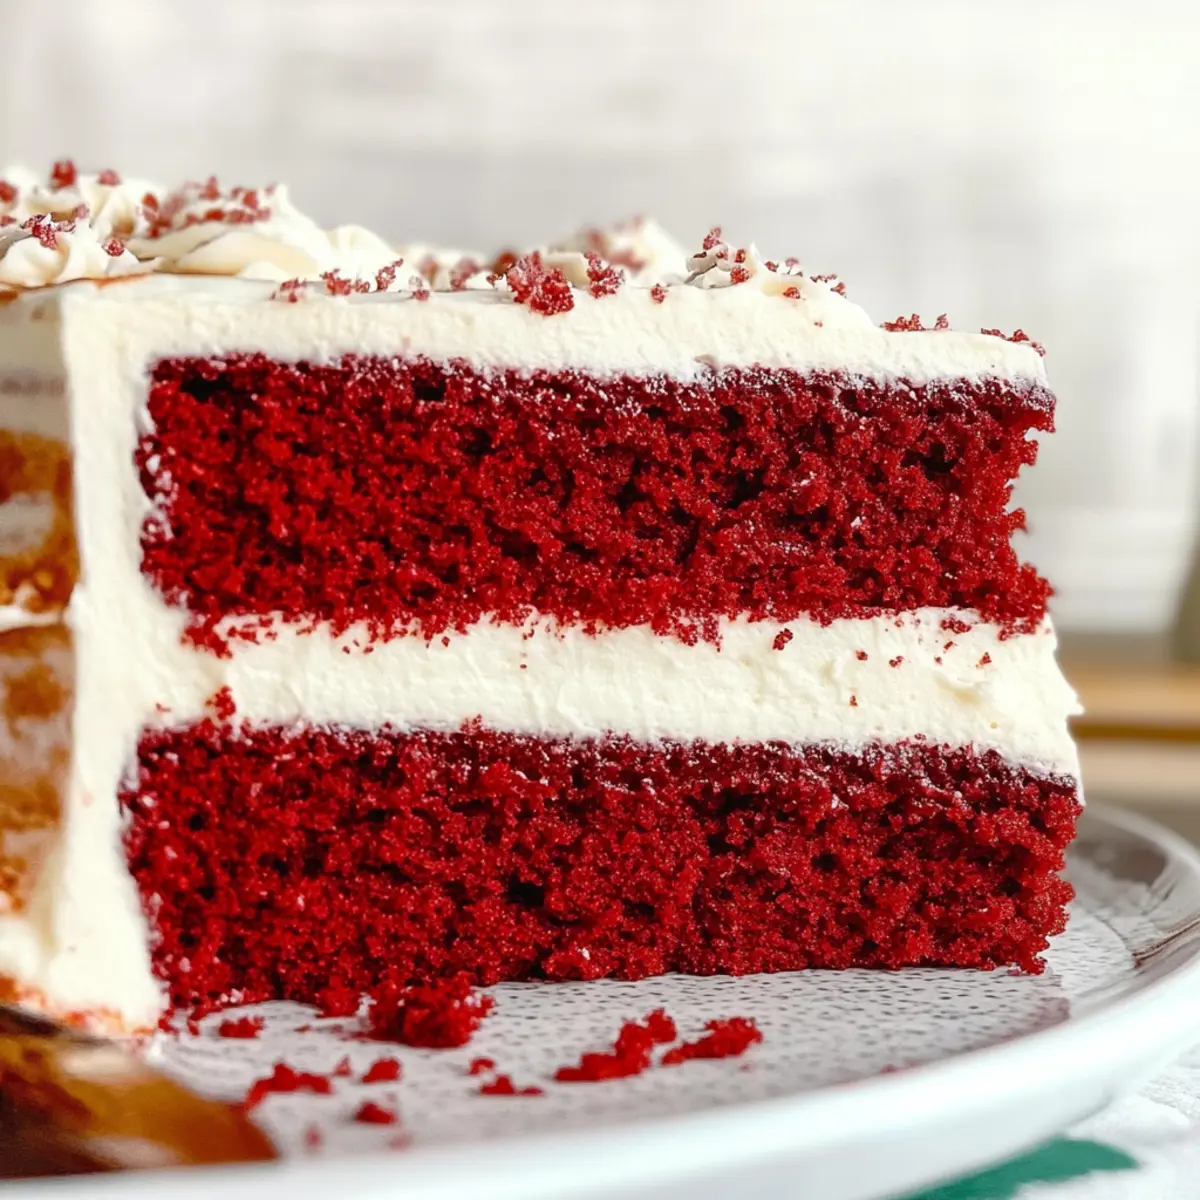
Why is Red Velvet Cake So Special?
Decadent Taste: The unique blend of cocoa and buttermilk creates a flavor that’s both rich and tangy, tantalizing your taste buds.
Eye-Catching Color: Its vibrant red hue makes for a stunning centerpiece at any gathering, sure to delight both eyes and palate.
Creamy Frosting: The luscious cream cheese frosting adds a perfect balance to the cake’s flavors, making each slice irresistibly indulgent.
Easy to Assemble: With simple steps to follow, you won’t need to be a pastry chef to achieve impressive results.
Perfect for Celebrations: Whether for birthdays, holidays, or just because, this cake is guaranteed to steal the show at your next event. Enjoy it with a light dessert pairing, like fresh berries or a scoop of ice cream, for an extra treat!
Red Velvet Cake Ingredients
For the Cake
- All-Purpose Flour – Provides structure to the cake; essential for texture and cannot be substituted.
- Granulated Sugar – Adds sweetness and moisture; consider using brown sugar for extra flavor depth.
- Unsweetened Dutch Cocoa Powder – Enhances the cake’s subtle chocolate flavor; crucial to maintain both taste and color balance.
- Baking Powder & Baking Soda – Essential leavening agents for a light, airy crumb; avoid omitting these!
- Salt – Balances the sweetness effectively; kosher salt can be used as an alternative.
- Buttermilk – Contributes moisture and tang; dilute yogurt or add vinegar to milk as a suitable substitution.
- Sour Cream – Adds richness; full-fat Greek yogurt works well as a substitute.
- Vegetable Oil – Keeps the cake moist; substitute with melted coconut oil for added flavor if desired.
- Eggs – Provide necessary structure; ensure they are at room temperature for best mixing results.
- White Vinegar – Reacts with baking soda for optimal leavening; it’s an important ingredient that shouldn’t be missed.
- Vanilla Extract – Enhances the overall flavor; opt for pure vanilla for the best results.
- Red Gel Food Coloring – Provides the signature red color; adjust the amount based on desired intensity.
For the Frosting
- Butter – Adds richness to the cream cheese frosting; should be at room temperature for easy mixing.
- Full-Fat Cream Cheese – Essential for a thick and creamy frosting; low-fat won’t give the same result.
- Powdered Sugar – Sweetens and thickens the frosting; ensure it’s sifted for a smooth consistency.
- Vanilla Bean Paste – Brings flavor and texture to the frosting; if needed, regular vanilla extract can work as a substitute.
Step‑by‑Step Instructions for Deliciously Moist Red Velvet Layer Cake with Cream Cheese Frosting
Step 1: Preheat the Oven
Begin by preheating your oven to 170ºC (340ºF). While the oven warms up, line two 20 cm (8-inch) round cake pans with parchment paper. This ensures easy removal of the cakes after baking and prevents sticking, so it’s an important step in creating your delectable Red Velvet Cake.
Step 2: Mix Dry Ingredients
In a large mixing bowl, sift together 2 ½ cups of all-purpose flour, 1 ½ cups of granulated sugar, ¼ cup of unsweetened Dutch cocoa powder, 1 teaspoon of baking powder, 1 teaspoon of baking soda, and 1 teaspoon of salt. This step is crucial for ensuring a light, airy texture in your cake. The dry ingredients should be well-combined and free of lumps before moving on.
Step 3: Mix Wet Ingredients
In a separate medium bowl, whisk together 1 ½ cups of buttermilk, ½ cup of sour cream, 1 cup of vegetable oil, 2 large eggs (room temperature), 1 tablespoon of white vinegar, 2 teaspoons of vanilla extract, and 2 tablespoons of red gel food coloring. Mix until everything is well incorporated, creating a vibrant mixture that will bring your Red Velvet Cake to life.
Step 4: Combine the Mixtures
Slowly pour the wet ingredients into the bowl of dry ingredients while gently stirring with a spatula. Be careful not to overmix, but ensure that the batter is smooth and free of lumps. This is where the magic happens, as the two mixtures blend to create a beautiful, velvety batter ready for baking.
Step 5: Bake the Cakes
Evenly divide the batter between the prepared cake pans, smoothing the tops with a spatula. Place them in the preheated oven and bake for 28-30 minutes or until a cake tester comes out clean. Once done, let the cakes cool in the pans for about 5 minutes before transferring them to a wire rack to cool completely, ensuring they maintain their shape and texture.
Step 6: Prepare the Cream Cheese Frosting
While the cakes cool, make the cream cheese frosting. In a large mixing bowl, beat 1 cup of room-temperature butter at high speed until creamy. Then add 8 ounces of full-fat cream cheese and mix for another minute. Gradually incorporate 4 cups of sifted powdered sugar and 1 teaspoon of vanilla bean paste, mixing until your frosting is smooth and creamy, perfect for topping your Red Velvet Cake.
Step 7: Assemble the Cake
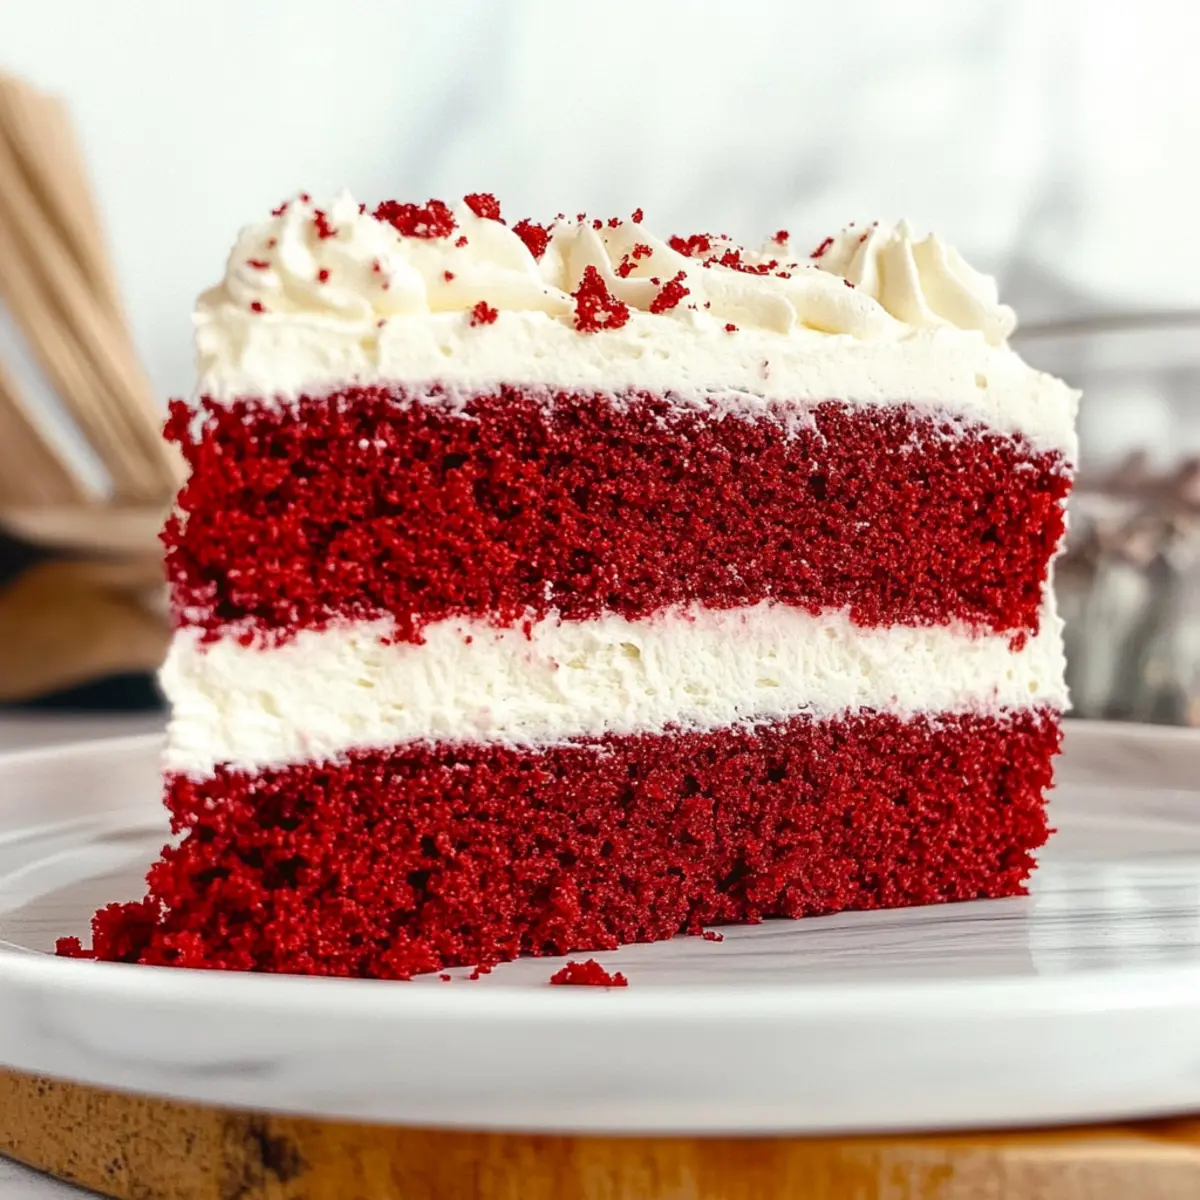
Once the cakes have cooled completely, level the tops with a serrated knife if necessary. Place one layer on a cake board or serving platter, generously spread a layer of cream cheese frosting on top, then stack the second layer on top. Apply a thin crumb coat of frosting around the sides to seal in any cake crumbs before covering the entire cake with the remaining frosting. Decorate as desired, letting your creativity shine!
Expert Tips for the Best Red Velvet Cake
-
Room Temperature Ingredients: Ensure all ingredients, especially eggs and butter, are at room temperature for better mixing and a fluffier cake.
-
Don’t Overmix: When combining your wet and dry ingredients, mix just until combined to avoid a dense texture in the red velvet cake.
-
Proper Baking Time: Keep an eye on the cake towards the end of the baking time; use a toothpick or cake tester—if it comes out clean, your cake is perfect!
-
Cool Completely: Let your cakes cool fully before frosting; this prevents the cream cheese frosting from melting and sliding off.
-
Sift Your Sugar: Always sift powdered sugar before adding it to the frosting to ensure a smooth and creamy consistency that’s free of lumps.
-
Add a Pinch of Salt: A pinch of salt in your frosting can enhance the sweetness and balance the flavors wonderfully when using cream cheese.
Make Ahead Options
These scrumptious Red Velvet Layer Cakes are perfect for busy home cooks who love to meal prep! You can bake the cakes up to 24 hours in advance; simply allow them to cool completely and then tightly wrap each layer in plastic wrap before refrigerating. The cream cheese frosting can also be made 3 days ahead; just store it in an airtight container in the refrigerator. To maintain its luscious texture, bring the frosting to room temperature and give it a quick whisk before spreading. When ready to assemble your cake, layer and frost as instructed, and enjoy your beautiful, homemade dessert with minimal effort!
Red Velvet Cake Variations & Substitutions
Feel free to explore these delightful twists to make your red velvet cake experience even more unique!
- Dairy-Free: Replace buttermilk with almond or soy milk mixed with vinegar for a vegan-friendly version.
- Gluten-Free: Use a gluten-free flour blend to create a cake that everyone can enjoy without sacrificing taste.
- Chocolate Explosion: Add ½ cup of mini chocolate chips to the batter for a delightful surprise in each bite. The extra chocolate will perfectly complement the cocoa in the cake.
- Nutty Delight: Incorporate finely chopped pecans or walnuts into the batter for a delightful crunch and nutty flavor. A little texture can take your cake to the next level!
- Less Sweet: Adjust the sugar in the frosting by reducing it by half if you prefer a less sweet treat that highlights the tanginess of the cream cheese.
- Spiced Up: Add a teaspoon of cinnamon or nutmeg to the batter for a warm, cozy flavor that’s perfect for fall gatherings.
- Fruit-Filled: Fold in fresh raspberries or strawberries before baking to add a fruity twist that pairs beautifully with the rich cake.
- Cream Cheese Swirl: For an extra creamy touch, swirl some reserved frosting into the batter before baking, creating beautiful marbled layers.
When you’ve mastered the classic recipe, consider trying variations like Chocolate Pumpkin Cupcakes or even a delightful Peach Cobbler Cheesecake for unique flavor adventures! Enjoy experimenting!
How to Store and Freeze Red Velvet Cake
Fridge: Store your Red Velvet Cake in an airtight container for up to 3 days. Allow it to reach room temperature before serving to enjoy the best flavor.
Freezer: Wrap each cake layer tightly in plastic wrap, then place them in a freezer-safe bag. The cake can be frozen for up to 3 months; just thaw overnight in the fridge before frosting.
Reheating: If you have leftover slices, reheat them gently in the microwave for about 10-15 seconds to revive their moisture without drying them out.
Frosting Storage: Leftover cream cheese frosting can be stored in the fridge for up to 5 days in an airtight container. Re-whip before using it to frost again or spread on desserts.
What to Serve with Deliciously Moist Red Velvet Layer Cake?
There’s something undeniably enchanting about creating a complete meal that centers around a stunningly beautiful dessert.
- Fresh Berries: Bright, juicy berries like strawberries or raspberries add a sweet-tart freshness, perfectly complementing the richness of the cake.
- Whipped Cream: Light and airy, a dollop of freshly whipped cream balances the cake’s texture, making each bite feel indulgent and creamy.
- Chocolate Ice Cream: The cold, creamy texture of chocolate ice cream enhances the cake’s cocoa notes, transforming every forkful into a delightful experience.
- Coffee or Espresso: A warm cup enhances the cake’s flavors, offering a rich contrast that awakens the palate and rounds out the meal.
- Coconut Macaroons: Chewy, sweet coconut macaroons provide a different texture, with their tropical notes beautifully offsetting the richness of your cake.
- Milkshake: A classic vanilla or chocolate milkshake brings a nostalgic twist, echoing the creaminess of the frosting while adding a fun touch to your dessert spread.
- Vanilla Pudding: This silky dessert pairs exceptionally well and adds a comforting softness that complements the cake’s velvetiness.
- Fruit Tart: A zesty fruit tart brings a refreshing element, cutting through the sweetness while keeping the dessert course light and colorful.
- Peanut Butter Cookies: Adding a nutty, chewy cookie can introduce a delightful crunch that contrasts nicely with the soft layers of the Red Velvet Cake.
Red Velvet Layer Cake Recipe FAQs
What is the best way to select ripe ingredients for this recipe?
Absolutely! For the freshest flavor, look for high-quality buttermilk and large eggs that are room temperature. For the cocoa powder, ensure it’s unsweetened Dutch process to achieve that rich taste. The red gel food coloring should be vibrant—check the expiration date if using older bottles, as faded colors can affect cake appearance.
How should I store leftovers of my Red Velvet Cake?
To keep your cake fresh, store it in an airtight container at room temperature for up to 3 days. For longer storage, refrigerate it, allowing it to reach room temperature before serving for the best flavor experience. If you’re planning to serve it later, consider placing it in a covered cake carrier to help maintain its texture.
Can I freeze my Red Velvet Cake?
Absolutely! For freezing, wrap each cooled cake layer tightly in plastic wrap, making sure there are no air pockets to prevent freezer burn. Place them in a freezer-safe bag or container. You can freeze the layers for up to 3 months. When you’re ready to enjoy your cake, simply thaw the layers overnight in the refrigerator and then frost as usual!
What should I do if my cake layers domed while baking?
No worries! It happens to the best of us. If your cake layers dome, simply use a serrated knife to level them off after they’ve cooled. This will ensure that they stack perfectly when you assemble the cake. Just be gentle so you don’t lose any of that moist, delicious texture you’ve worked so hard to create!
Are there any dietary considerations I should keep in mind?
Very! If you’re accommodating dietary restrictions, ensure to check for allergies, especially with the cream cheese frosting, as it contains dairy. For a dairy-free option, consider using vegan cream cheese or a whipped coconut cream. If you have pets, it’s wise to keep any leftover cake far from their reach, as ingredients like chocolate and sugar aren’t suitable for them.
How should I know if my cake is baked properly?
To check for doneness, gently press down on the top of the cake with your fingers; it should bounce back. You can also insert a toothpick in the center—if it comes out clean or with a few moist crumbs, your cake is baked perfectly. If it comes out with wet batter, give it a few more minutes in the oven!
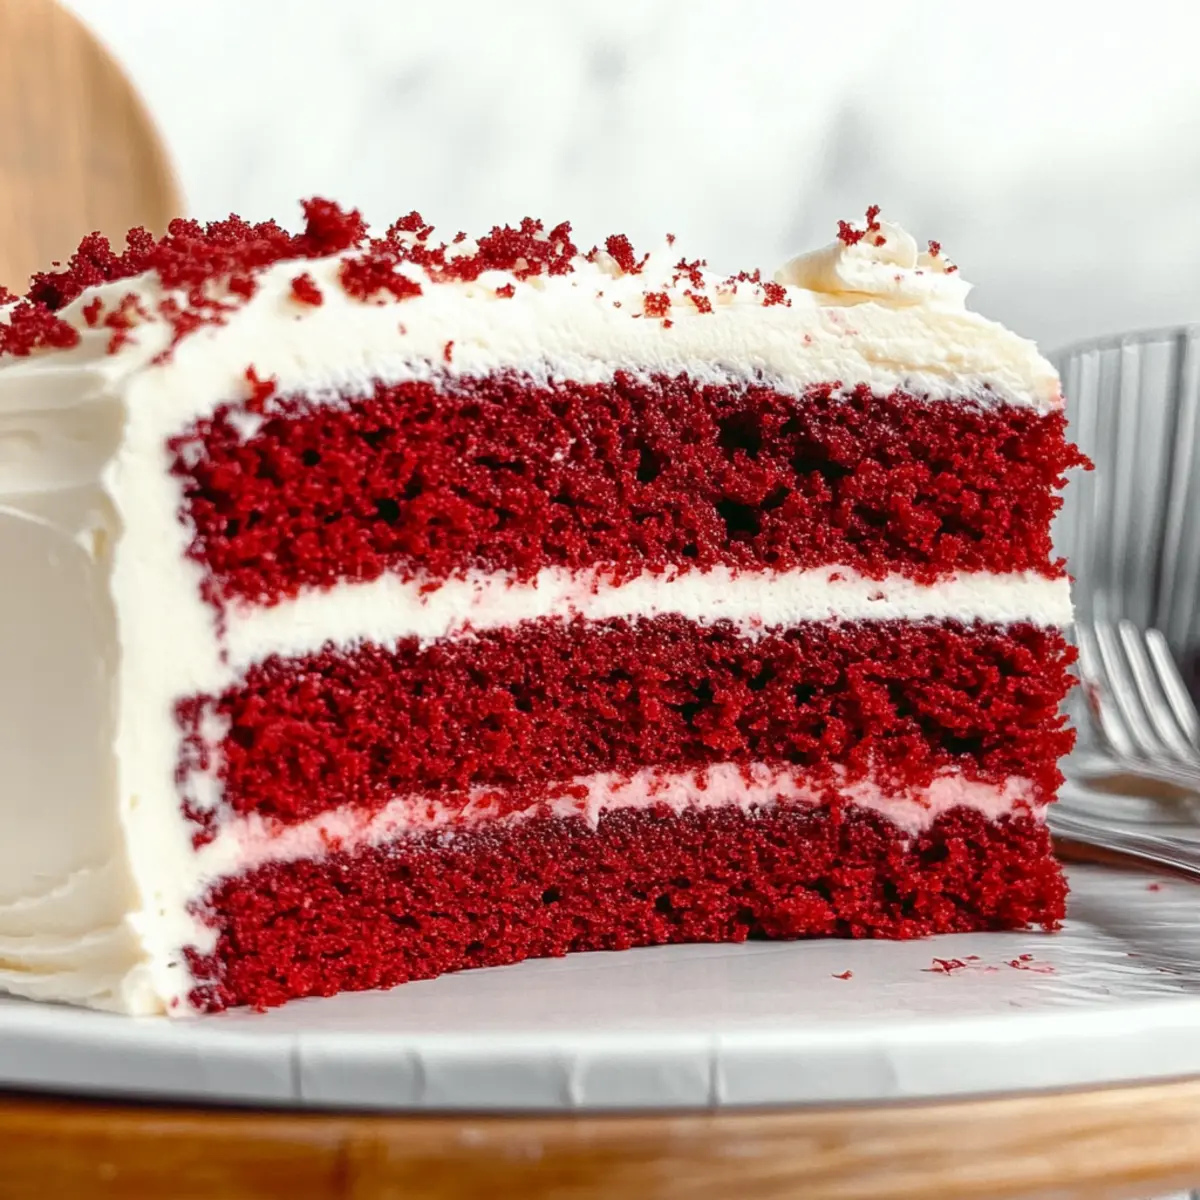
Heavenly Red Velvet Cake with Creamy Frosting Bliss
Ingredients
Equipment
Method
- Preheat your oven to 170ºC (340ºF) and line two 20 cm (8-inch) round cake pans with parchment paper.
- In a large mixing bowl, sift together the dry ingredients: flour, sugar, cocoa powder, baking powder, baking soda, and salt.
- In a separate bowl, whisk together the wet ingredients: buttermilk, sour cream, vegetable oil, eggs, vinegar, vanilla extract, and red gel food coloring.
- Slowly combine the wet ingredients with the dry ingredients and stir gently until smooth.
- Divide the batter between the prepared cake pans and bake for 28-30 minutes or until a cake tester comes out clean.
- While cooling, prepare the cream cheese frosting by beating the butter, adding cream cheese, then gradually mixing in powdered sugar and vanilla bean paste until smooth.
- Once cooled, level the cakes, stack with frosting in between, and frost the entire cake.
Leave a Reply