
As the leaves begin to turn and the air crisps, I find myself craving the cozy flavors of fall, which is why these Easy Homemade Apple Pie Bars have become my go-to treat for the season. Imagine biting into a delightful square that combines the essence of a classic apple pie with an effortless prep—yes, please! Not only are these apple pie bars a crowd-pleaser, but they’re also perfectly portable, making them ideal for gatherings or cozy afternoons at home. With a golden, crumbly topping and a warm, sticky apple filling, each bite is a soothing reminder of autumn’s sweet embrace. Want to know how to whip up this comforting dessert in no time? Keep reading to find out!
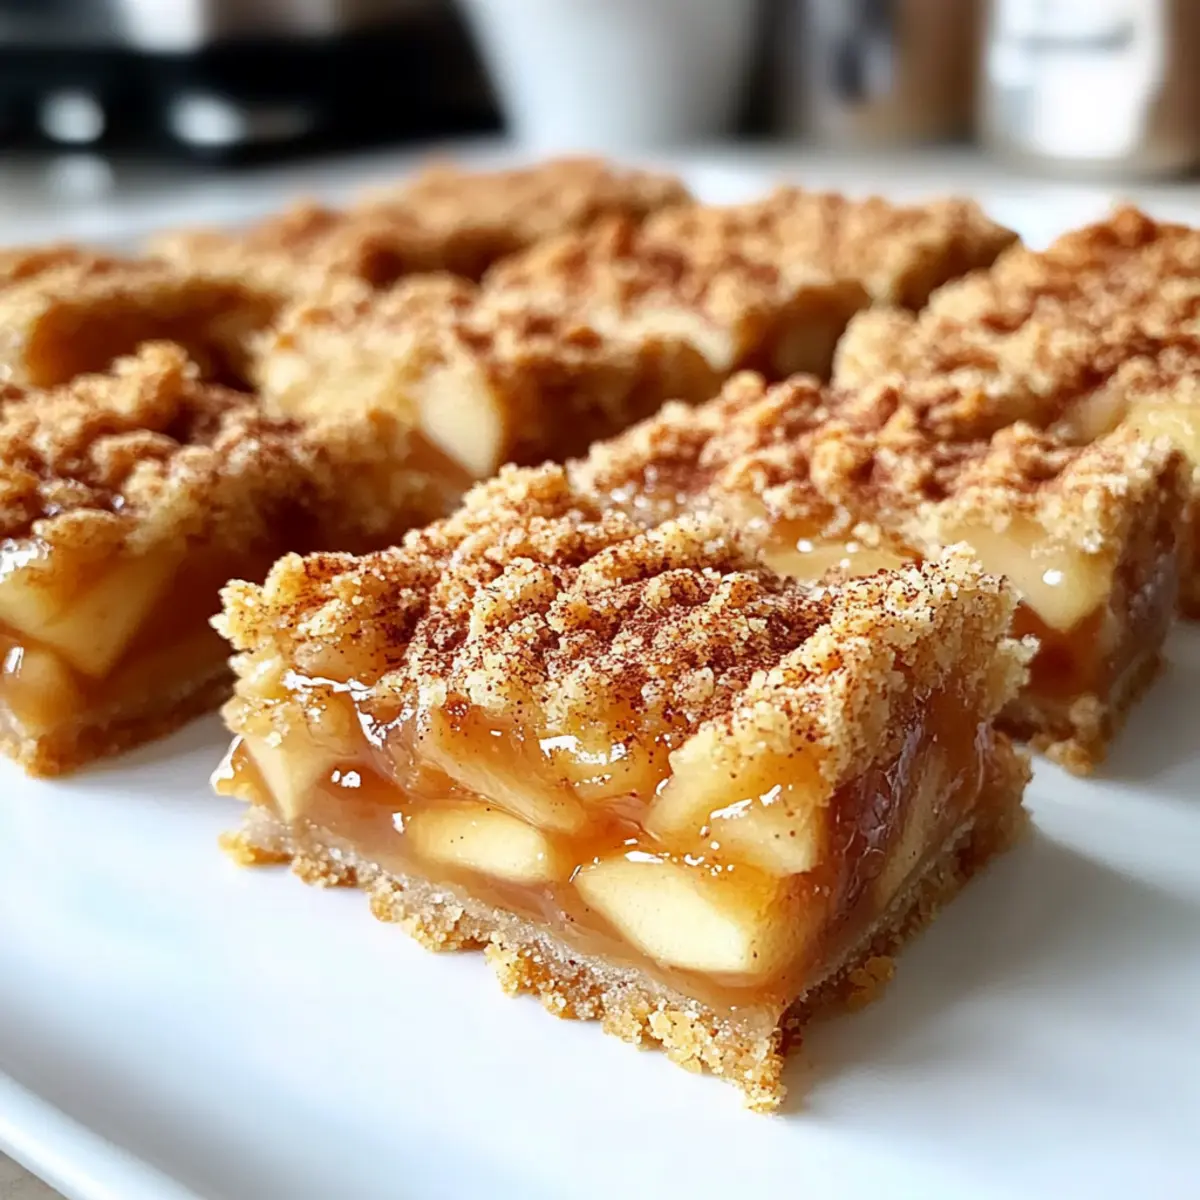
Why Choose These Apple Pie Bars?
Comforting Warmth: The blend of cinnamon and nutmeg in the filling wraps you in cozy autumn flavors.
Simple Preparation: With just a few easy steps, you can enjoy a homemade dessert without the fuss.
Portable Delight: Perfectly sliceable and easy to transport, they’re ideal for potlucks or picnics.
Versatile Enjoyment: Dress them up with a drizzle of warm caramel or serve with a scoop of ice cream for an extra indulgence.
Crowd Favorite: Guaranteed to impress friends and family alike, making them an essential addition to any gathering.
Apple Pie Bars Ingredients
For the Crust and Topping
• All-Purpose Flour – Forms the structure of the crust and crumble topping; substitute with gluten-free flour for a gluten-free option.
• Granulated Sugar – Adds sweetness to the crust; can be replaced with coconut sugar for a healthier alternative.
• Salt – Enhances the flavor; sea salt is a lovely substitution.
• Cold Butter – Provides richness and flakiness; use chilled vegan butter for a dairy-free treat.
For the Apple Filling
• Sliced Apples (e.g., Granny Smith, Honeycrisp) – The star of the dish, adding both sweetness and tartness; a mix deepens the flavor complexity.
• Brown Sugar – Sweetens the apple filling and adds a caramel-like richness; light or dark brown sugar works interchangeably.
• Cinnamon and Nutmeg – Spices that evoke cozy fall vibes and are essential for that classic apple pie flavor.
• Cornstarch – Thickens the apple filling; you can use arrowroot as a substitute if needed.
• Lemon Juice – Balances out the sweetness and keeps apples from browning; a must for flavor!
• Vanilla Extract – Adds a warm sweetness to the filling, elevating the overall taste of the bars.
Step‑by‑Step Instructions for Apple Pie Bars
Step 1: Preheat the Oven
Begin by preheating your oven to 350°F (175°C). While the oven warms up, prepare a 9×13 inch baking pan by lining it with parchment paper, allowing for easy removal later. This step ensures your Apple Pie Bars bake evenly and maintain their delightful shape.
Step 2: Prepare the Crust Mixture
In a large mixing bowl, combine all-purpose flour, granulated sugar, and salt, stirring to blend. Cut in cold butter using a pastry cutter or your fingers until the mixture resembles coarse crumbs. This buttery mixture forms the base for your Apple Pie Bars, so ensure it’s well mixed for that perfect crumbly texture.
Step 3: Form the Crust
Press two-thirds of the crumb mixture into the bottom of the lined baking pan, creating an even layer. Bake this crust in the preheated oven for about 15 minutes, or until it turns lightly golden. Keep an eye out for that golden hue, as it tells you the crust is setting up nicely for your apple filling.
Step 4: Mix the Apple Filling
While the crust bakes, prepare the apple filling in a separate bowl. Toss the sliced apples with brown sugar, cinnamon, nutmeg, cornstarch, lemon juice, and vanilla extract. Ensure the apples are well-coated to enhance their flavor. This mixture will create a sticky filling that is the heart of your Apple Pie Bars.
Step 5: Assemble the Bars
Once the crust has finished baking, remove it from the oven and spread the apple filling evenly over the crust. Crumble the reserved flour-butter mixture over the top to form a delightful topping. This layer should be generously scattered, offering that perfect bite of crumble in your Apple Pie Bars.
Step 6: Bake to Perfection
Return the assembled pan to the oven and bake for 35-40 minutes, or until the topping is golden brown and the apples are tender. Check for a bubbly filling and that satisfying golden crust. This baking stage is crucial for achieving the ideal texture and flavor in your delicious Apple Pie Bars.
Step 7: Cool and Slice
Once baked, allow the Apple Pie Bars to cool in the pan. When they have cooled completely, lift them out using the parchment paper. Place them on a cutting board and slice into squares. This is the moment to appreciate your hard work as the bars reveal their honeyed apple filling and crumbly topping.
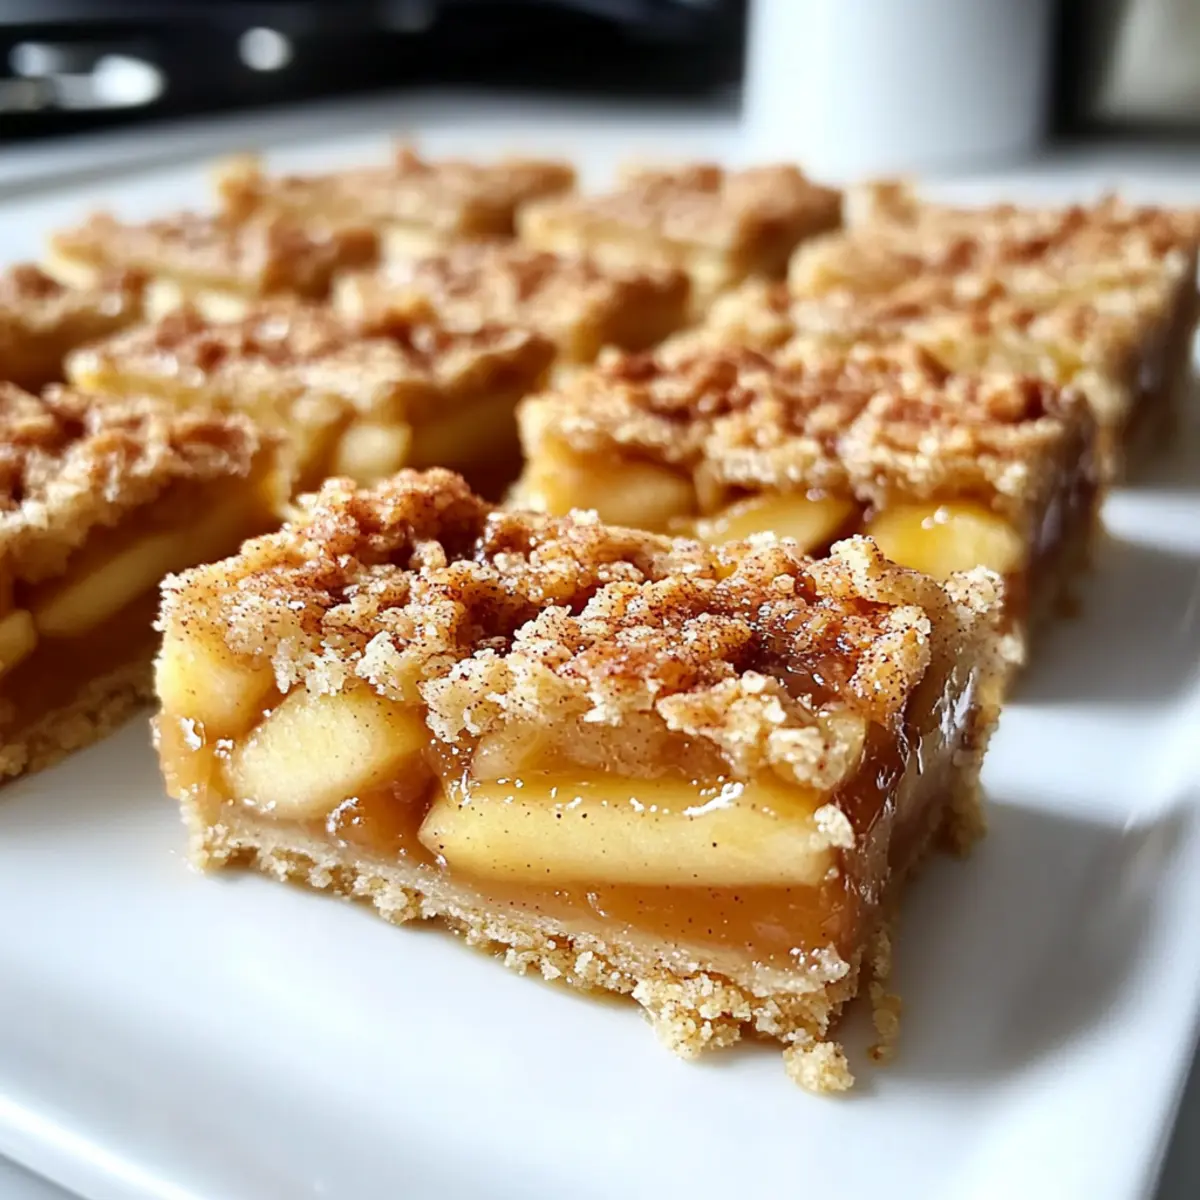
Expert Tips for Apple Pie Bars
Chill the Butter: Ensure your butter is thoroughly chilled before mixing to achieve a flaky and crumbly topping.
Apple Variety: Combine tart and sweet apples, such as Granny Smith and Honeycrisp, for a well-rounded flavor profile in your apple pie bars.
Coating the Filling: Make sure to thoroughly coat the apples with the sugar and spice mixture to enhance their flavor and prevent them from becoming mushy.
Even Crust Layer: When pressing the crust into the pan, aim for an even thickness to ensure uniform baking for your apple pie bars.
Storage Advice: Keep leftover bars in an airtight container at room temperature for up to 3 days, or freeze for longer storage.
Make Ahead Options
These Apple Pie Bars are a fantastic option for meal prep enthusiasts! You can prepare the crust and crumble topping up to 24 hours in advance by mixing the flour, sugar, and cold butter, then storing it in the refrigerator. The apple filling can also be made a day ahead; simply toss the sliced apples with brown sugar and spices, refrigerate in an airtight container, and it will be just as delicious, with flavors fully developed. When you’re ready to bake, just assemble the layers and pop them in the oven for 35-40 minutes. This way, you’ll savor a comforting dessert with minimal hassle during your busy week!
How to Store and Freeze Apple Pie Bars
Room Temperature: Store the apple pie bars in an airtight container at room temperature for up to 3 days to keep them fresh and delicious.
Fridge: For longer freshness, you can refrigerate the bars in an airtight container; they’ll last up to a week but may lose some of their original texture.
Freezer: To freeze apple pie bars, wrap them individually in plastic wrap and place them in a freezer-safe container. They can be stored for up to 3 months without losing their yummy flavor.
Reheating: When you’re ready to enjoy the bars, thaw them overnight in the fridge and reheat in a warm oven for a few minutes, restoring that fresh-baked aroma and taste.
What to Serve with Apple Pie Bars
As the sweet aroma of baked apples fills your kitchen, it’s time to think about what deliciousness to pair with these delightful apple pie bars.
-
Vanilla Ice Cream: A scoop of creamy vanilla ice cream adds a luscious contrast to the warm, crumbly bars. It’s a classic pairing that enhances the fall flavors beautifully.
-
Caramel Sauce: Drizzle warm caramel sauce over the bars for a sweet, indulgent twist. This little extra touch brings out the richness in the apple filling.
-
Whipped Cream: Light and airy whipped cream balances the bar’s density perfectly. It can be flavored with a hint of cinnamon for an autumn-inspired treat.
-
Coffee or Tea: A warm cup of coffee or spiced tea makes for a cozy pairing, enhancing the comfort of these apple pie bars. The warmth complements the flavors superbly!
-
Fresh Fruit Salad: A refreshing fruit salad can provide a bright contrast with its acidity, balancing the sweetness of the bars. Consider a mix of berries and citrus to elevate the dish.
-
Cheese Plate: Serve alongside sharp cheddar or creamy brie for an unexpected yet delightful sweet-and-savory combination. The creaminess of the cheese pairs wonderfully with the apple filling.
-
Chai Latte: This spiced tea drink adds warmth and a hint of sweetness, making it an ideal companion for your apple pie bars, especially as the weather cools.
-
Pumpkin Spice Muffins: For a more complete fall baking experience, offer these muffins on the side. Their spicy-sweet profile harmonizes perfectly with the bars.
With these delightful pairings, you’re all set to serve a cozy autumn feast that captures the essence of the season!
Apple Pie Bars Variations
Feel free to personalize your apple pie bars with these delightful twists that are sure to tickle your taste buds!
-
Nutty Addition: Add chopped walnuts or pecans to the apple filling for added crunch and flavor. Nuts provide a delightful contrast to the soft apples, adding texture and richness.
-
Cranberry Burst: Toss in dried cranberries with the apples for a zingy pop of color and tartness. This balance of flavors beautifully complements the sweetness of the apples.
-
Spicy Kick: Mix in a dash of ginger or cardamom for an exciting, warming twist. These spices will deepen the flavor profile and leave everyone craving more.
-
Vegan Delight: Substitute the butter with a chilled vegan alternative to make these bars dairy-free. Enjoy the same flaky texture while keeping things plant-based.
-
Gluten-Free Wonder: Use a gluten-free all-purpose flour blend in place of regular flour to create a deliciously adaptable dessert for those with dietary restrictions. With this swap, everyone can enjoy a taste of fall!
-
Maple Sweetness: Swap out the granulated sugar for maple sugar or syrup for a unique, earthy sweetness that enhances the apple flavor wonderfully. Maple always brings that warm, autumn vibe.
-
Caramel Drizzle: Top the baked bars with a drizzle of homemade warm caramel sauce for an indulgent finish that’s sure to impress. Just imagine that sweet, sticky goodness sealing the deal!
If you’re looking for more apple-themed treats, check out Salted Caramel Apple or whip up some Apple Cinnamon Cookies.
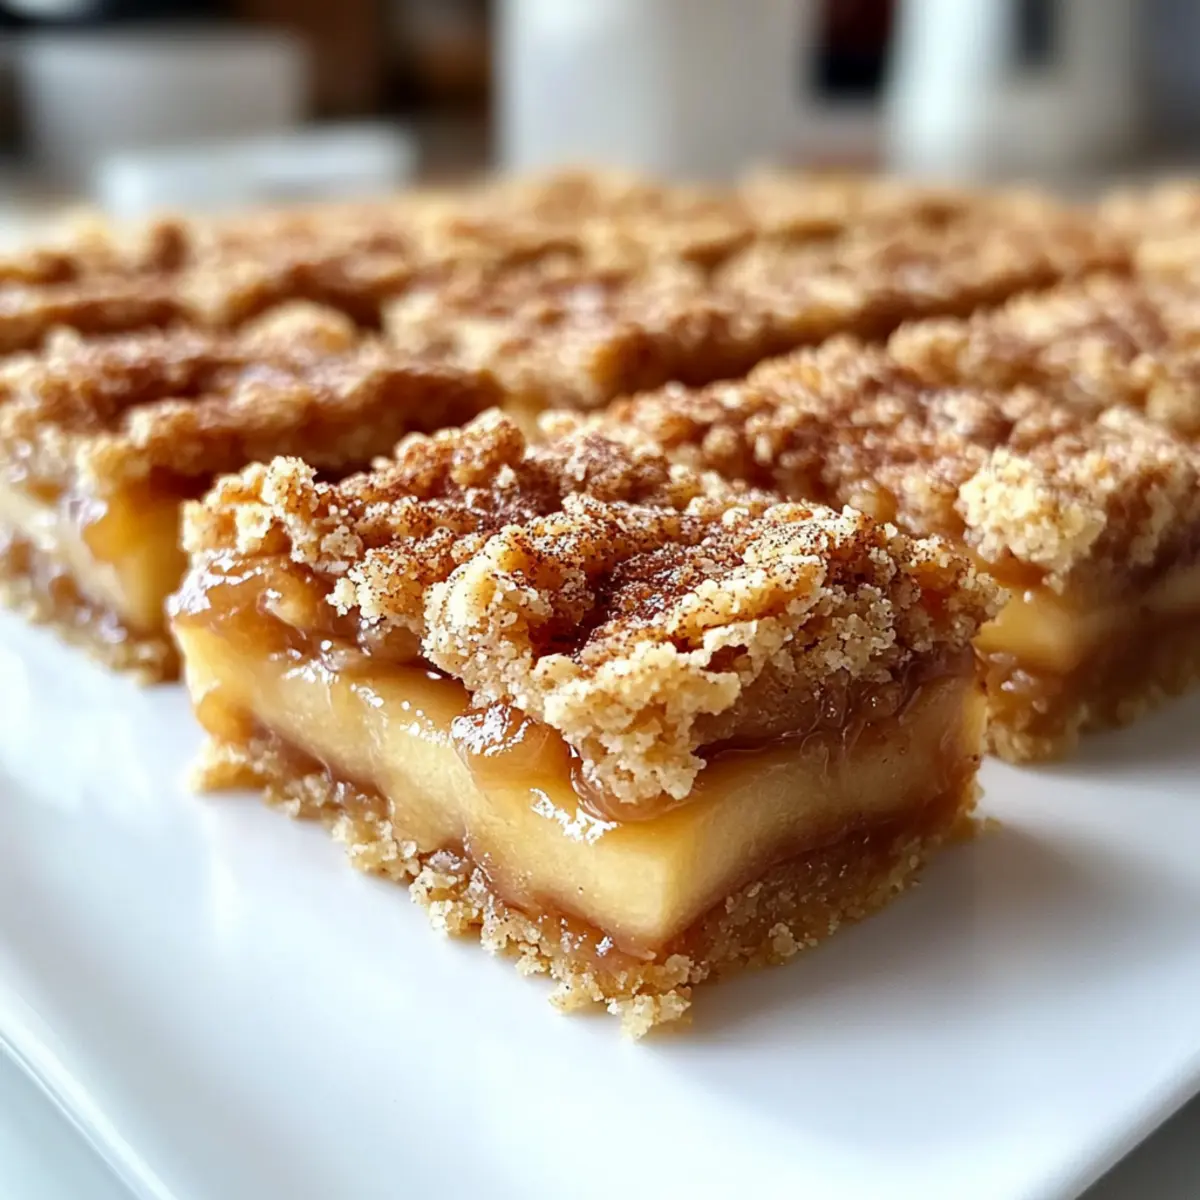
Apple Pie Bars Recipe FAQs
What kind of apples are best for apple pie bars?
Absolutely! I recommend using a mix of tart and sweet varieties, like Granny Smith for their tartness and Honeycrisp for sweetness. This combination adds wonderful flavor complexity and keeps each bite interesting!
How do I store leftover apple pie bars?
You can store the apple pie bars in an airtight container at room temperature for up to 3 days. If you want them to last longer, refrigerate them for up to a week. Just remember, refrigeration might affect their texture a bit, so enjoy them fresh for the best experience!
Can I freeze apple pie bars?
Very! To freeze, individually wrap each bar in plastic wrap and place them in a freezer-safe container. They can be stored for up to 3 months. When you’re ready to enjoy them, just thaw in the fridge overnight and reheat in a warm oven for a few minutes to restore that delightful fresh-baked aroma and taste!
What can I do if my apple filling is too watery?
If your filling ends up too watery, you can sprinkle a little extra cornstarch over the apples before baking, or you might add a bit more cornstarch while mixing. Another tip is to let your filling sit for a few minutes to allow some of the liquid to drain off before spreading it onto the crust.
Can I make these apple pie bars gluten-free?
Absolutely! Just substitute all-purpose flour with your favorite gluten-free flour blend. Many people love using a 1:1 gluten-free flour mix, which works beautifully in this recipe. It’s a great way to ensure everyone can enjoy these delicious apple pie bars!
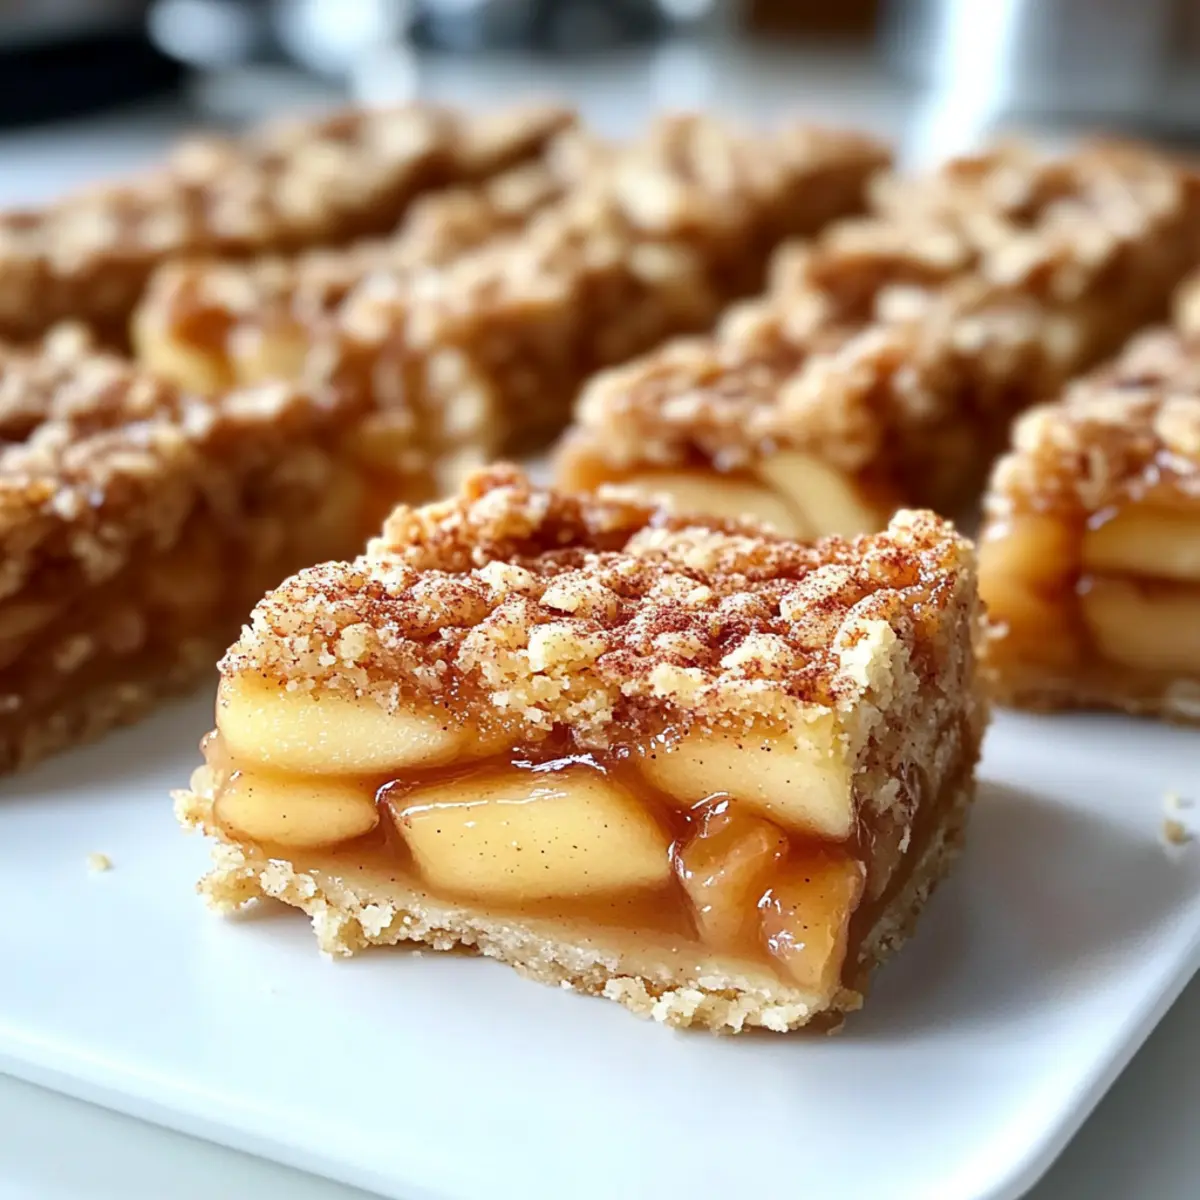
Irresistible Apple Pie Bars That Make Fall Feel Cozy
Ingredients
Equipment
Method
- Preheat the oven to 350°F (175°C) and line a 9x13 inch baking pan with parchment paper.
- Combine flour, sugar, and salt in a large bowl. Cut in butter until mixture resembles coarse crumbs.
- Press two-thirds of the mixture into the bottom of the pan and bake for 15 minutes until lightly golden.
- Prepare the apple filling by tossing sliced apples with brown sugar, cinnamon, nutmeg, cornstarch, lemon juice, and vanilla extract.
- Spread the apple filling evenly over the crust and crumble the reserved mixture on top.
- Bake for 35-40 minutes until topping is golden brown and filling is bubbly.
- Allow to cool, then lift out using parchment paper and slice into squares.
Leave a Reply