
The sizzle of hot oil and the spicy aroma wafting through the kitchen instantly transports me to Nashville, where comfort food reigns supreme. Today, I’m thrilled to share my recipe for Crispy Nashville Chicken Tenders, a dish that marries a crunchy exterior with a juicy interior, and a spicy glaze that’s nothing short of addictive. What I love most about these tenders is how they bring everyone together—perfect for a quick weeknight dinner or a lively gathering with friends. Plus, they’re simple enough for beginner cooks while keeping seasoned chefs coming back for more. Are you ready to whip up some Southern-style deliciousness right in your own kitchen? Let’s dive in!
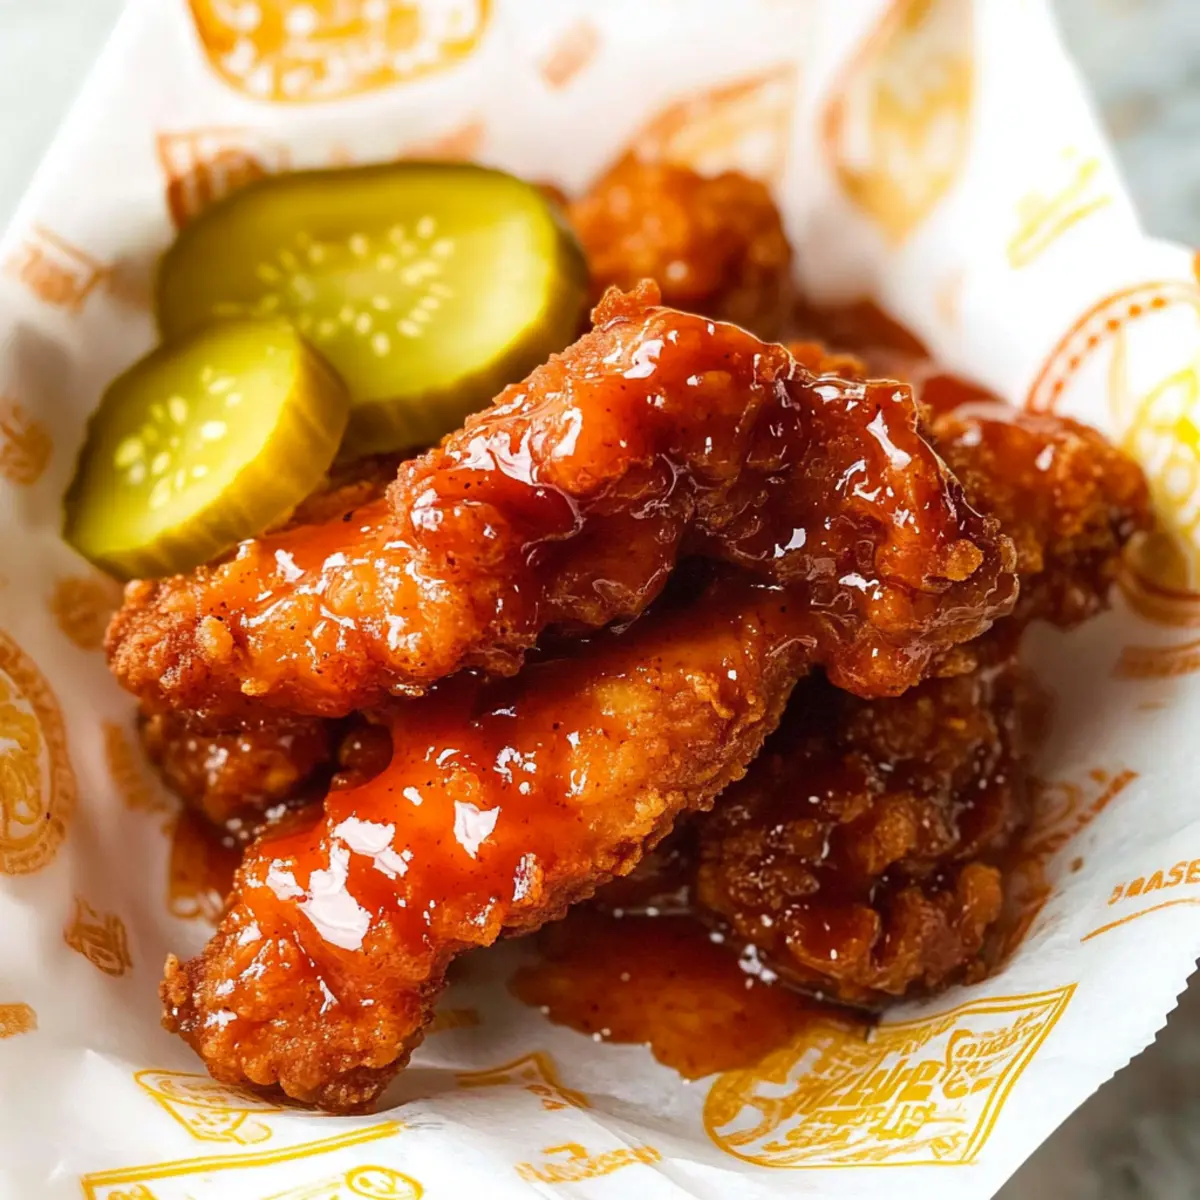
Why Are Nashville Chicken Tenders Irresistible?
Bold Flavor: These tenders are packed with a spicy kick that tantalizes your taste buds—perfect for those who love bold dishes.
Crispy Texture: The double-coating technique guarantees an ultra-crispy exterior, making every bite satisfying.
Easy to Make: With straightforward instructions, even novice cooks can master the art of frying chicken.
Versatile Serving Options: Enjoy them as is, or serve on a thick slice of bread with pickles for a true Nashville experience, similar to my Grilled Chicken Sweet option.
Crowd-Pleasing Dish: Whether for a casual dinner or a party, these tenders are sure to impress and keep everyone coming back for seconds!
Nashville Chicken Tenders Ingredients
For the Chicken
• Chicken Tenders – The heart of the dish, providing juicy flavor; can substitute with sliced chicken breast if desired.
• Buttermilk – Acts as a tenderizer and enhances moisture; use milk mixed with vinegar if buttermilk isn’t available.
• Pickle Juice – Infuses flavor while tenderizing the chicken; if not on hand, use extra buttermilk instead.
• Hot Sauce – Adds a spicy kick; adjust the amount for your heat preference, with Cholula being a milder option.
• Egg – Binds ingredients in the marinade; for a vegan version, consider a suitable egg substitute.
For the Coating
• Plain/All-Purpose Flour – Creates that signature crispy crust; swap in gluten-free flour for a gluten-free option.
• Paprika – Provides deep, smoky flavor; feel free to increase for added richness.
• Cayenne Pepper – Boosts the heat level to new heights—perfect for spice lovers!
• Garlic Powder – Adds savory depth; adjust based on your love for garlic.
• Onion Powder – Lends a subtle sweetness to the coating; can easily be omitted if preferred.
• Baking Powder – Helps achieve a lighter, airier texture in the crust.
• Black Pepper – A must for flavor balance; add more for extra zing.
• Salt – Essential for enhancing all the flavors in the dish.
For the Spicy Glaze
• Hot Sauce – Use the leftover from the marinade for a zesty glaze; perfect for that Nashville flair!
• Honey – Adds a touch of sweetness to balance the heat of the hot sauce.
• Smoked Paprika – Enhances the glaze with a smoky undertone; feel free to adjust to taste.
• Garlic Powder – Reinforces flavor in the glaze, adding extra savory notes.
• Salt – A pinch is all you need to awaken the glaze’s flavors.
Step‑by‑Step Instructions for Nashville Chicken Tenders
Step 1: Marinate Chicken
In a large bowl, whisk together 1 cup of buttermilk, 1/4 cup of pickle juice, 2 tablespoons of hot sauce, 1 beaten egg, and 1 teaspoon of salt. Submerge the chicken tenders in the marinade, ensuring they are well coated. Cover the bowl with plastic wrap and refrigerate for 2 to 4 hours, allowing the flavors to meld and the chicken to tenderize beautifully.
Step 2: Prepare Dry Coating
In a shallow dish, combine 1 cup of all-purpose flour with 1 teaspoon each of paprika, garlic powder, onion powder, and baking powder, plus 1/2 teaspoon of cayenne pepper, black pepper, and salt. After marinating, remove the chicken tenders from the buttermilk mixture, allowing the excess to drip off. Dredge each piece thoroughly in the flour mixture, ensuring a fine coating.
Step 3: Heat Oil
In a deep skillet or pot, heat about 2 inches of vegetable oil over medium-high heat until it reaches 350°F (175°C). Use a kitchen thermometer to maintain a steady temperature, adjusting the heat as necessary. If you don’t have a thermometer, sprinkle a pinch of flour into the oil; if it sizzles, it’s ready for frying.
Step 4: Fry Tenders
Carefully place the coated chicken tenders into the hot oil, making sure not to overcrowd the pan. Fry the chicken in batches for about 5 to 7 minutes, turning occasionally, until they are golden brown and cooked through, with an internal temperature of 165°F (74°C). Use a slotted spoon to transfer the tenders to a wire rack for draining excess oil.
Step 5: Make Glaze
After frying, discard some of the excess oil from the pan, leaving about 2 tablespoons. In the same pan, pour in the leftover hot sauce, 2 tablespoons of honey, 1 teaspoon of smoked paprika, and a pinch of garlic powder and salt. Whisk the ingredients together over low heat until fully combined, creating a glossy glaze that adds zing to your Nashville Chicken Tenders.
Step 6: Finish and Serve
Brush the spicy glaze generously over the fried chicken tenders while they are still warm for maximum flavor. Serve the tenders immediately, paired with pickles and extra hot sauce on the side for an authentic Nashville experience. Gather your friends and family around for a delightful taste of comfort food!
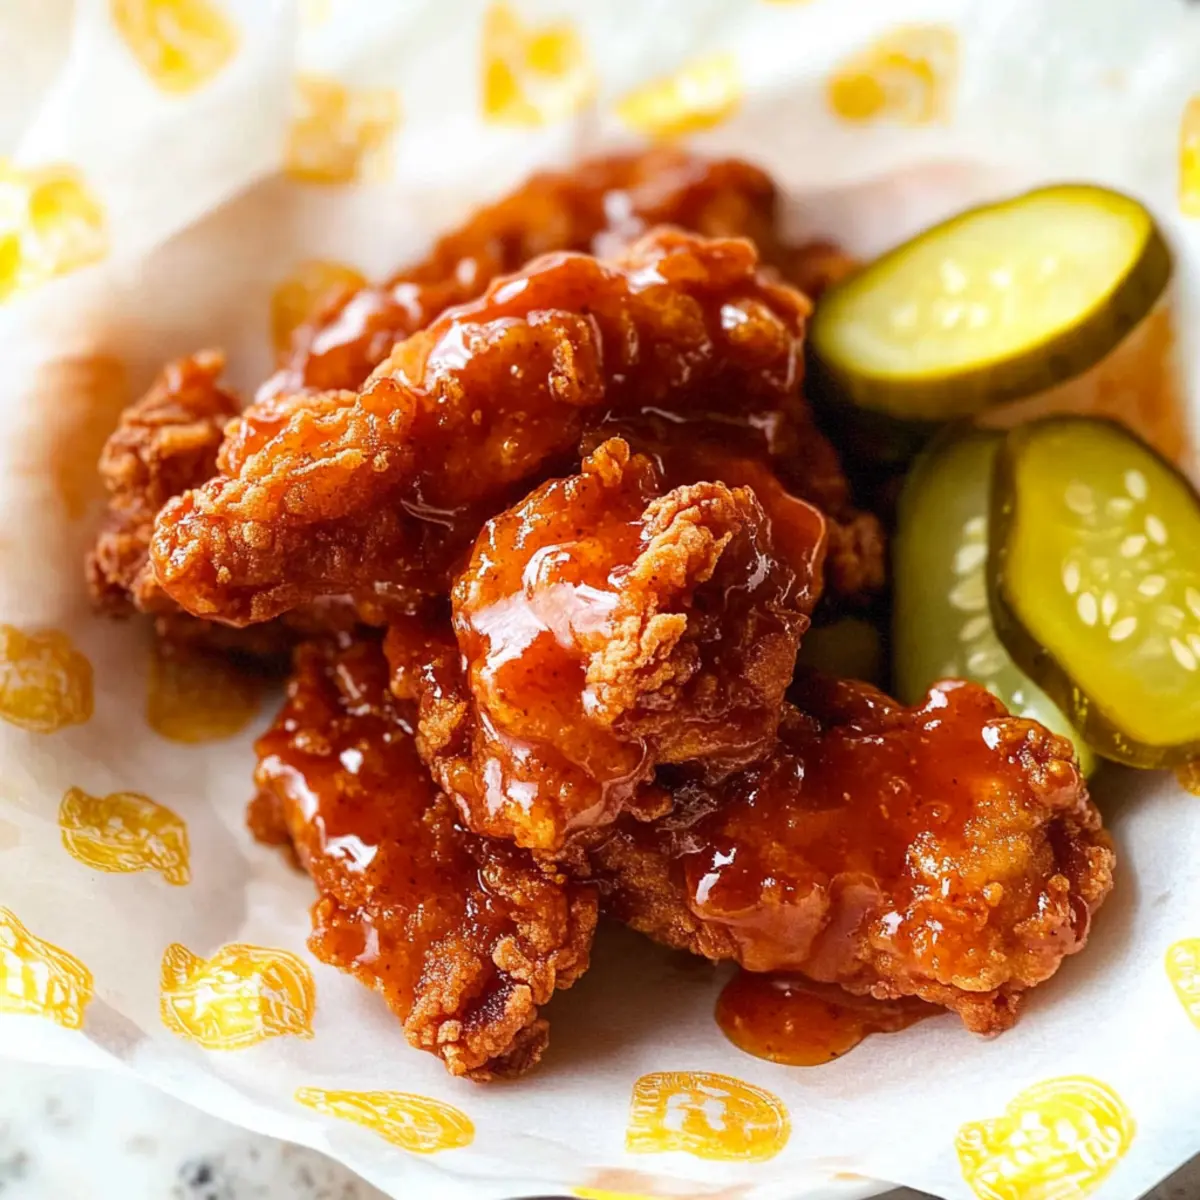
How to Store and Freeze Nashville Chicken Tenders
Fridge: Store leftover Nashville Chicken Tenders in an airtight container for up to 3 days. This helps maintain their flavor while keeping them fresh.
Freezer: Freeze tenders in a single layer on a baking sheet, then transfer to a freezer-safe bag for up to 3 months. This preserves their texture and taste for later enjoyment.
Reheating: For best results, reheat tenders in a preheated oven at 375°F (190°C) for about 10-15 minutes to restore their crispy exterior.
Airtight Guidance: When storing in the fridge or freezer, ensure the tenders are completely cooled before sealing to prevent condensation and sogginess.
Make Ahead Options
These Nashville Chicken Tenders are perfect for meal prep enthusiasts looking to save time on busy weeknights! You can marinate the chicken in the buttermilk mixture up to 24 hours in advance, allowing the flavors to fully infuse while keeping the chicken incredibly tender. Additionally, the dry coating can be prepped and stored in an airtight container for up to 3 days. When you’re ready to finish the recipe, simply remove the chicken from the marinade, dredge it in the prepared dry coating, and fry as directed. This makes for an effortless dinner option that still delivers all the spicy, crispy goodness you love!
Expert Tips for Nashville Chicken Tenders
Temperature Control: Ensure your oil is at the correct temperature (350°F) for crispy tenders; too cold and they’ll absorb excess oil, becoming greasy.
Marination Matters: Don’t rush marination; allow the chicken to soak for at least 2 hours to achieve the perfect taste and tenderness.
Frying in Batches: Avoid overcrowding the skillet while frying to maintain the oil temperature, which helps create that signature crispy exterior on your Nashville Chicken Tenders.
Double-Coating Option: For an even crispier result, dip the chicken tenders in the flour mixture twice—this creates a thicker crust that locks in moisture and flavor.
Resting is Key: After frying, let the tenders rest on a wire rack rather than paper towels; this prevents them from becoming soggy while cooling.
What to Serve with Crispy Nashville Chicken Tenders
Indulging in flavorful tenders is just the beginning; let’s create a feast that will warm your heart and awaken your palate.
-
Creamy Coleslaw: A crunchy, tangy slaw cuts through the richness of the chicken, adding a refreshing contrast on the plate. A vibrant mix of cabbage and carrots enhances the meal’s texture beautifully.
-
Buttermilk Biscuits: Fluffy and buttery, these biscuits are perfect for soaking up the spicy glaze and balancing the meal’s heat. Serve warm for a truly comforting touch!
-
Sweet Potato Fries: Crispy and slightly sweet, these fries are a delicious twist that complements the spice of the tenders. Their soft interior paired with a seasoned crunch is irresistible.
-
Pickles: Tangy pickles add a punchy flavor that brightens each bite of chicken, enhancing your Southern feast. They are also a classic pairing that pays homage to Nashville tradition!
-
Cornbread: Sweet, moist cornbread provides a delightful contrast to the spicy tenders and is perfect for mopping up any extra glaze left on your plate.
-
Southern Green Beans: Tender green beans sautéed with garlic contribute a fresh, earthy flavor, enhancing the dish’s overall taste profile and adding color to your spread.
-
Lemonade: A refreshing glass of homemade lemonade offsets the heat with its sweet and tart notes, keeping your taste buds dancing while you savor every bite.
-
Chocolate Chip Cookies: For dessert, gooey chocolate chip cookies are a joyous ending to your meal, bringing warmth and sweetness after the savory indulgence of the tenders.
Variations & Substitutions for Nashville Chicken Tenders
Customize your Nashville Chicken Tenders to suit your unique taste and dietary needs with these delightful variations!
-
Dairy-Free: Substitute the buttermilk with a mixture of almond milk and a splash of apple cider vinegar for a dairy-free marinade.
-
Spicy Variation: Add more cayenne pepper or even a dash of crushed red pepper flakes to the flour coating for an extra kick of heat.
-
Gluten-Free: Use a gluten-free flour blend to coat the chicken, so everyone can enjoy these crunchy tenders without worry.
-
Herb-Infused: Incorporate fresh herbs like dill or parsley into the flour mixture to add an aromatic twist to the crunchy coating.
-
Buttermilk Alternative: If you’re short on buttermilk, a mixture of plain yogurt and water can provide a creamy and tangy substitute while keeping the chicken moist.
-
Crispy Oven-Baked Option: For a healthier twist, bake the coated tenders at 425°F (220°C) on a wire rack to achieve a crispy texture with less oil.
-
Sweet Heat Glaze: Blend your hot sauce with a bit of maple syrup or brown sugar for a sweet-thick glaze that tantalizes your tastebuds.
-
Classic Side Serving: For a traditional Nashville experience, serve these tenders on a thick slice of bread topped with pickles, a style reminiscent of my Creamy Garlic Parmesan Chicken Pasta recipe that pairs beautifully with bold flavors.
These variations not only elevate your chicken tenders but also allow you to create a personalized culinary experience that delights!
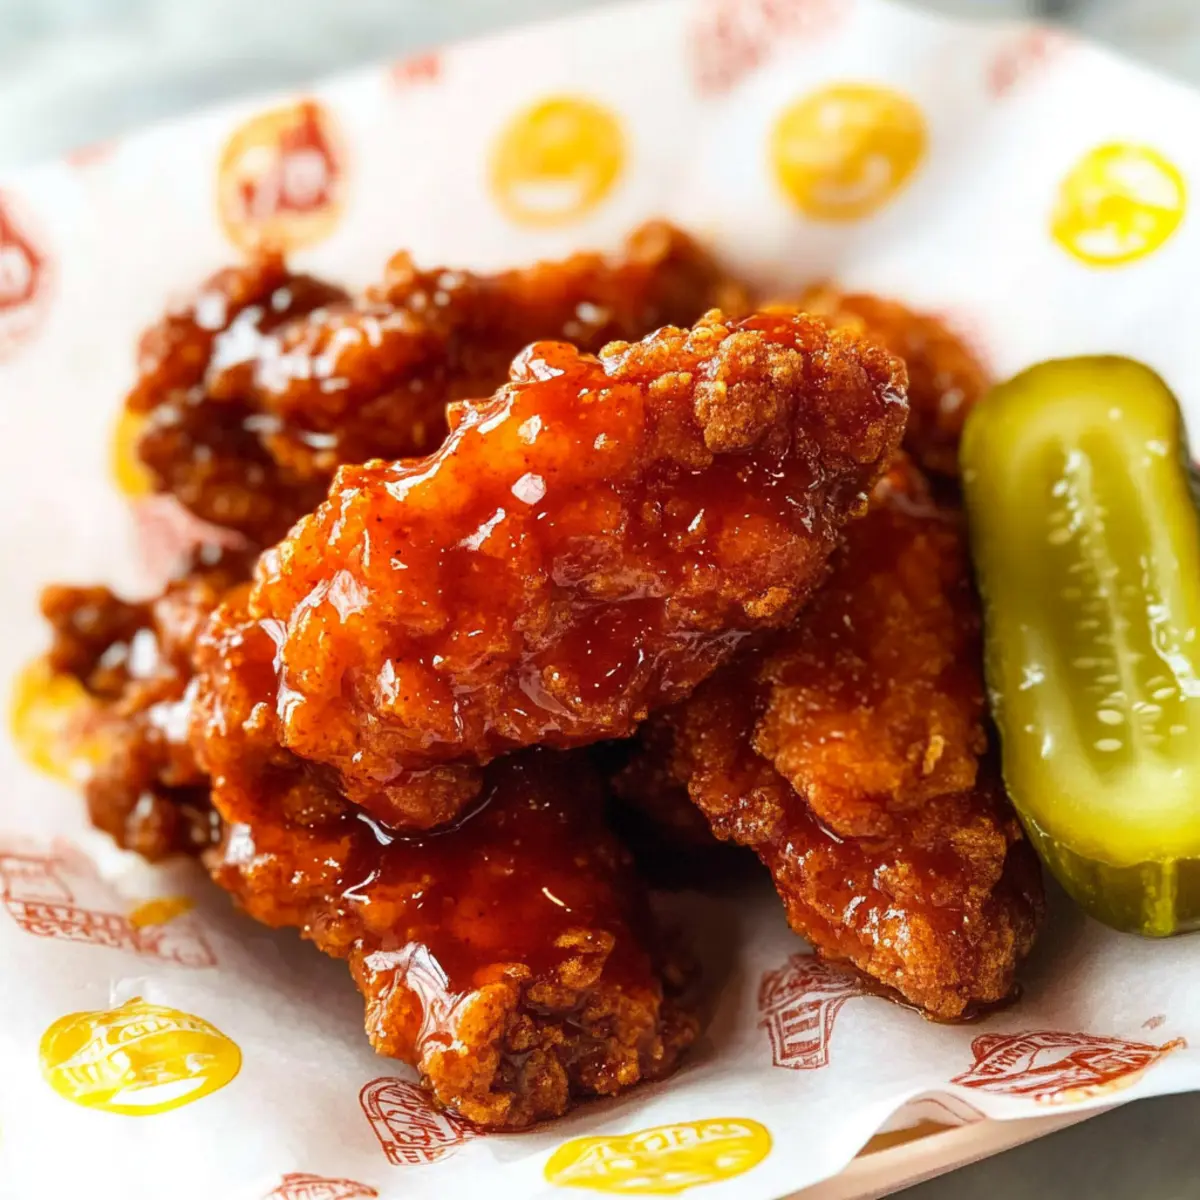
Nashville Chicken Tenders Recipe FAQs
What type of chicken is best for Nashville Chicken Tenders?
Absolutely! Chicken tenders are traditionally used for their tenderness and juicy texture. If you can’t find them, you can substitute sliced chicken breast, but keep in mind that tenders will yield a more flavorful result due to their natural juiciness.
How do I store leftover Nashville Chicken Tenders?
Leftover Nashville Chicken Tenders can be stored in an airtight container in the refrigerator for up to 3 days. Just allow them to cool completely before sealing to avoid sogginess from condensation.
Can I freeze Nashville Chicken Tenders?
Yes! To freeze, lay the chicken tenders in a single layer on a baking sheet until frozen solid. Once frozen, transfer them to a freezer-safe bag. This method helps maintain their quality for up to 3 months. For the best results, remember to label the bag with the date!
How do I reheat Nashville Chicken Tenders for best texture?
To ensure your tenders remain crispy when reheating, preheat your oven to 375°F (190°C). Place the chicken tenders on a baking sheet and heat for about 10-15 minutes, or until they’re warmed through and crunchy again. This method prevents them from drying out, unlike microwaving.
What if my chicken tenders turn out greasy?
If your Nashville Chicken Tenders turn out greasy, it may be due to the oil temperature being too low during frying. To prevent this, maintain the oil at around 350°F (175°C). If your batch is already greasy, placing them on a wire rack for a bit after frying can help drain excess oil.
Can I make Nashville Chicken Tenders gluten-free?
Very! To make these tenders gluten-free, simply swap regular all-purpose flour for gluten-free flour. The taste will still be delightful, and your family won’t even notice the difference. Just be sure to check all labels for hidden gluten in the hot sauce and other seasonings.
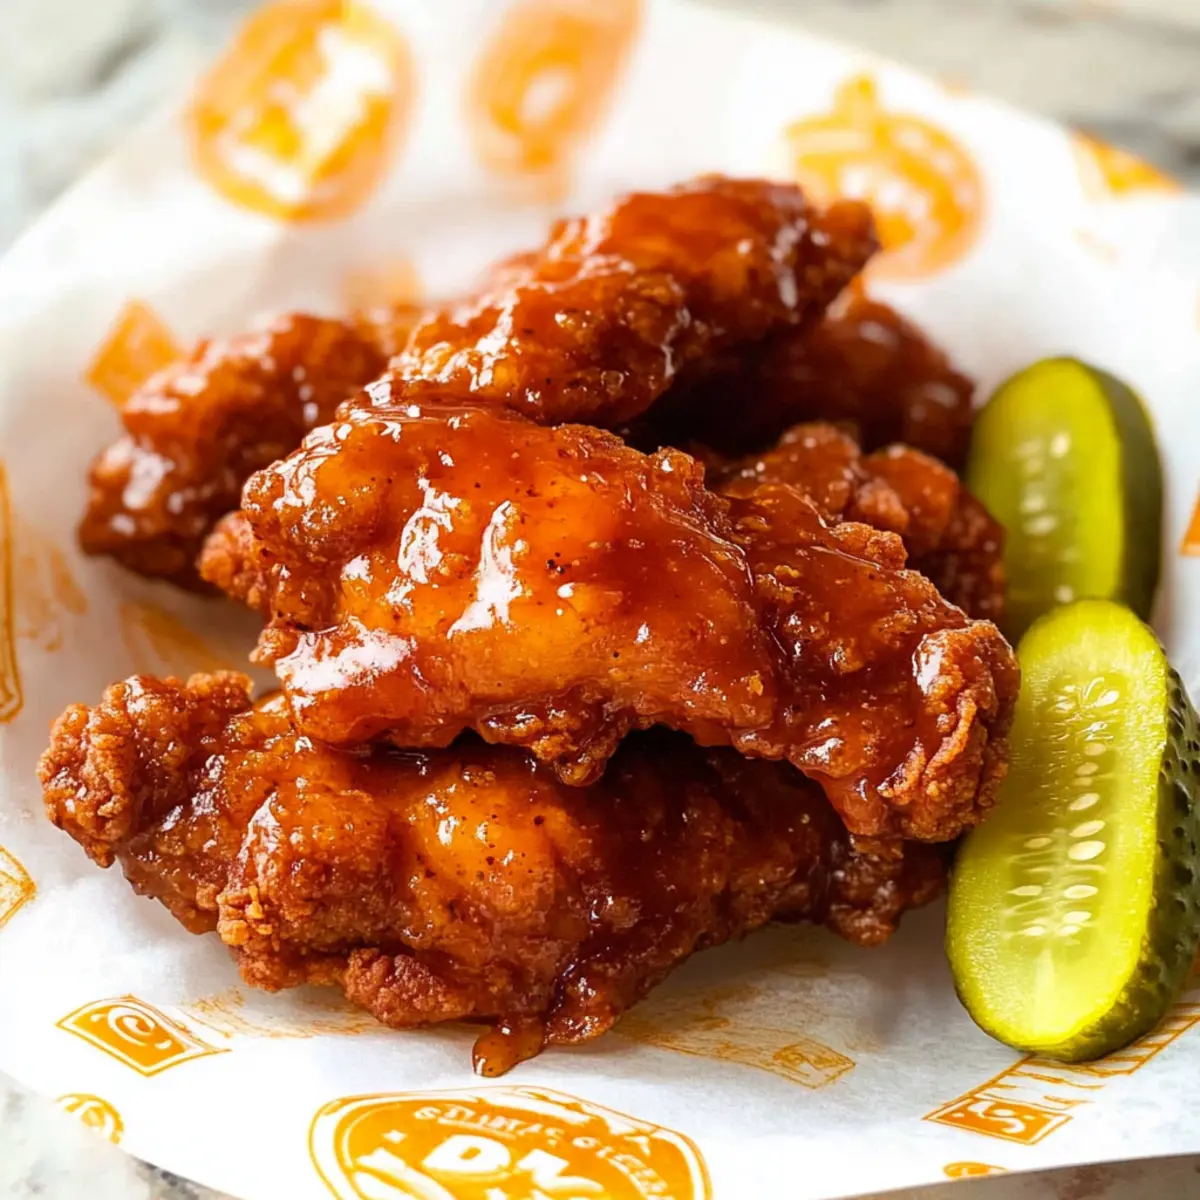
Crispy Nashville Chicken Tenders That Ignite Your Tastebuds
Ingredients
Equipment
Method
- In a large bowl, whisk together the marinade ingredients and submerge the chicken for 2 to 4 hours.
- In a shallow dish, combine all coating ingredients; dredge marinated chicken in this mixture.
- Heat about 2 inches of oil in a skillet to 350°F (175°C).
- Fry chicken in batches for 5 to 7 minutes until golden brown and cooked through.
- Make the glaze by combining hot sauce, honey, smoked paprika, garlic powder, and salt in the pan.
- Brush the glaze over the warm chicken tenders and serve immediately.
Leave a Reply